
10 Mannequin Hair Transformations You’ll Want to Try Today
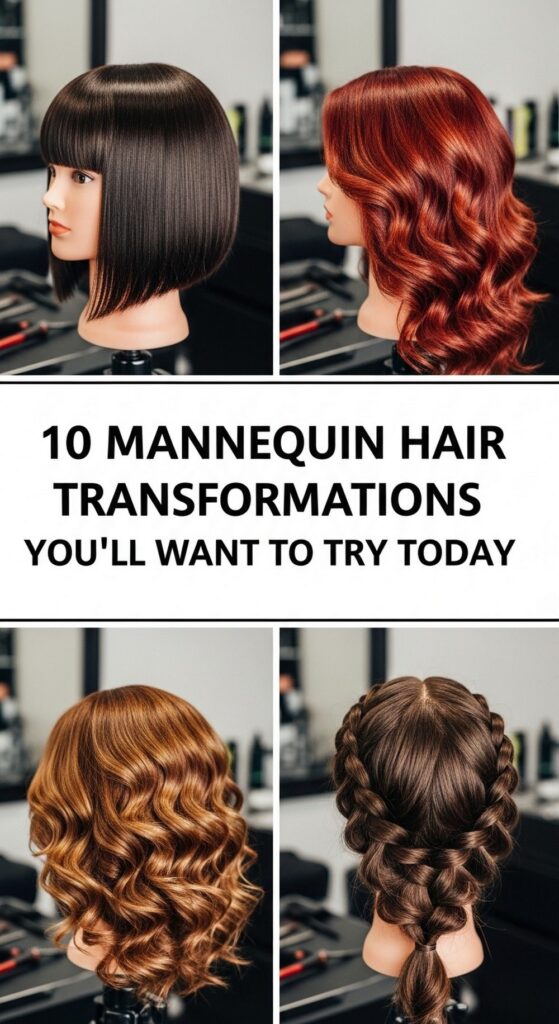
If you’re staring at your mannequin wondering what to try next, this list is for you. These 10 mannequin hair transformations are perfect for building real-world salon skills, from smooth blowouts to braids, buns, and glam waves. You’ll get looks that suit most oval, round, and heart-shaped faces, with tweaks for straight, wavy, and curly textures.
Before you start, detangle your mannequin’s hair, add a light mist of water or leave-in, and section cleanly with a tail comb. Keep clips, elastics, and pins within reach so you can focus on clean technique instead of fighting tangles. A basic dryer, flat iron, curling iron, and a few styling staples are all you need. Use these styles for timed practice, portfolio photos, or exam prep—and repeat them until your hands remember every move.
Quick List
- Sleek Salon Blowout Makeover
- Deep Side-Part Hollywood Waves
- High Wrapped Power Ponytail
- Dutch Braid Mohawk Transformation
- Soft Braided Crown Halo
- Half-Up Mini Top Knot Volume
- Faux Curtain Bangs Pin-Back
- Low Textured Braided Bun
- Bubble Braid Statement Pony
- Defined Curls Refresh Makeover
1. Sleek Salon Blowout Makeover
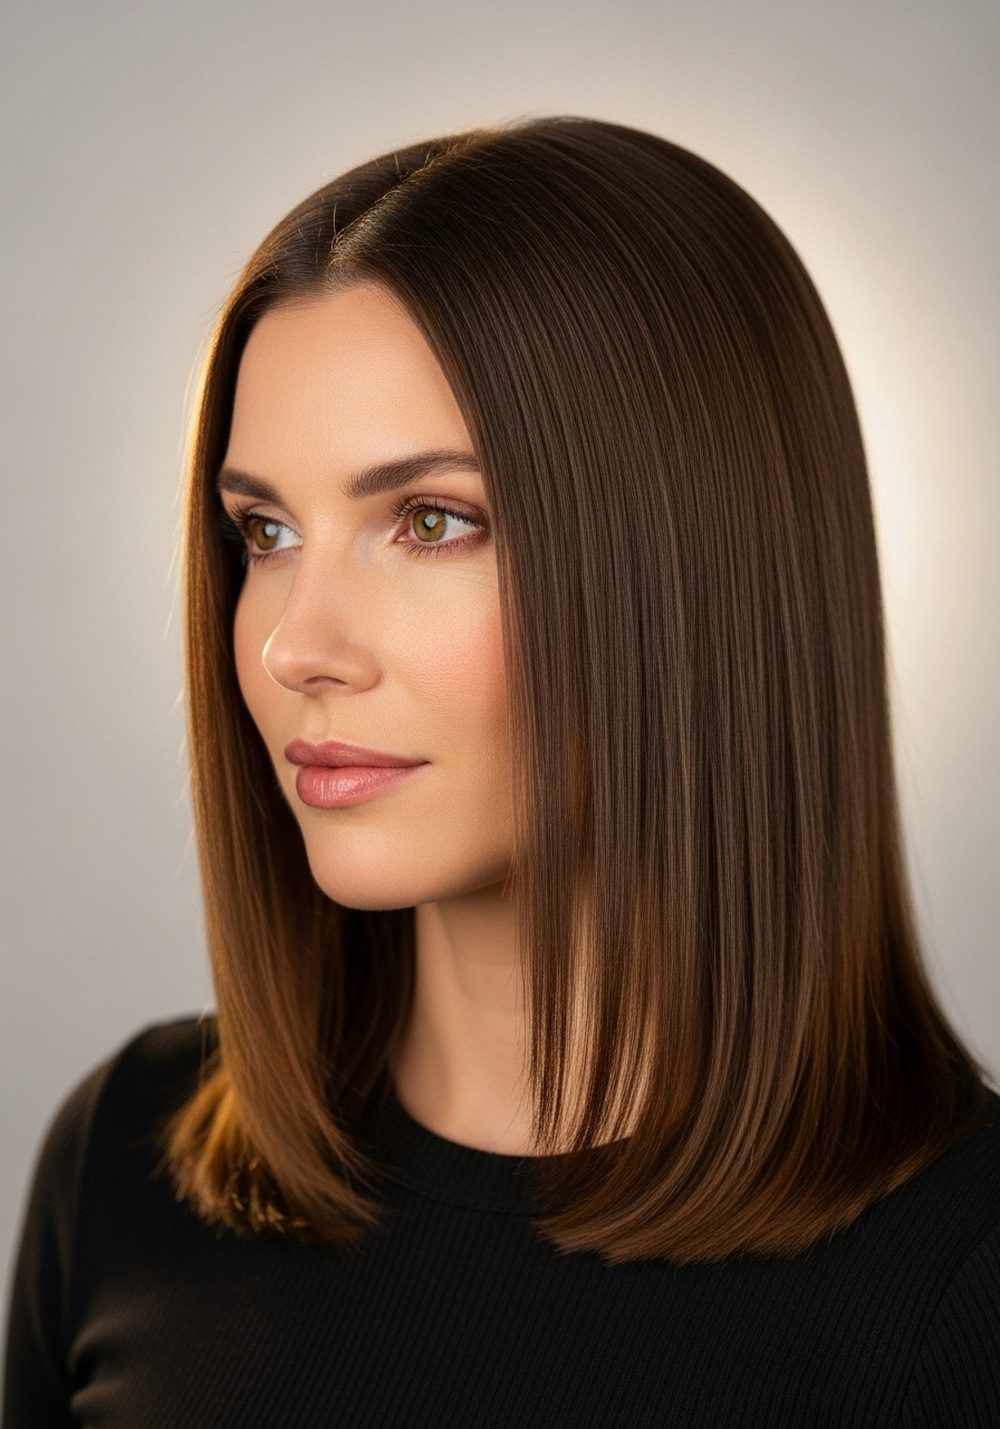
Turn your mannequin’s flat, puffy hair into a smooth, salon-style blowout. This transformation teaches you sectioning, brush control, and how to create movement without making the hair look stiff or heavy. It’s a great base style for photos or for building layered looks later. Aim for sleek roots with soft, curved ends so it looks polished, not poker-straight. On clients, this kind of blowout flatters oval and heart-shaped faces and works best on straight or lightly wavy hair. Practice rotating your round brush and guiding the dryer so you don’t scorch the hair. One quick pro tip: always keep the dryer nozzle pointing down the hair shaft to keep the cuticle smooth and shiny.
How To Style
- On your mannequin, apply light heat protectant and rough-dry to about 70%.
- Create clean horizontal sections and clip away the rest.
- Using a round brush, pull each section taut and follow with the dryer.
- Curve the ends under or slightly outward for a soft finish.
- Finish with a small amount of smoothing cream through mid-lengths and ends.
Best For
- Face shapes: Oval, heart, round
- Hair: Straight or slightly wavy, medium to long
Tools & Products
- Round brush
- Blow dryer with nozzle
- Sectioning clips
- Heat protectant spray
- Lightweight smoothing cream or serum
2. Deep Side-Part Hollywood Waves
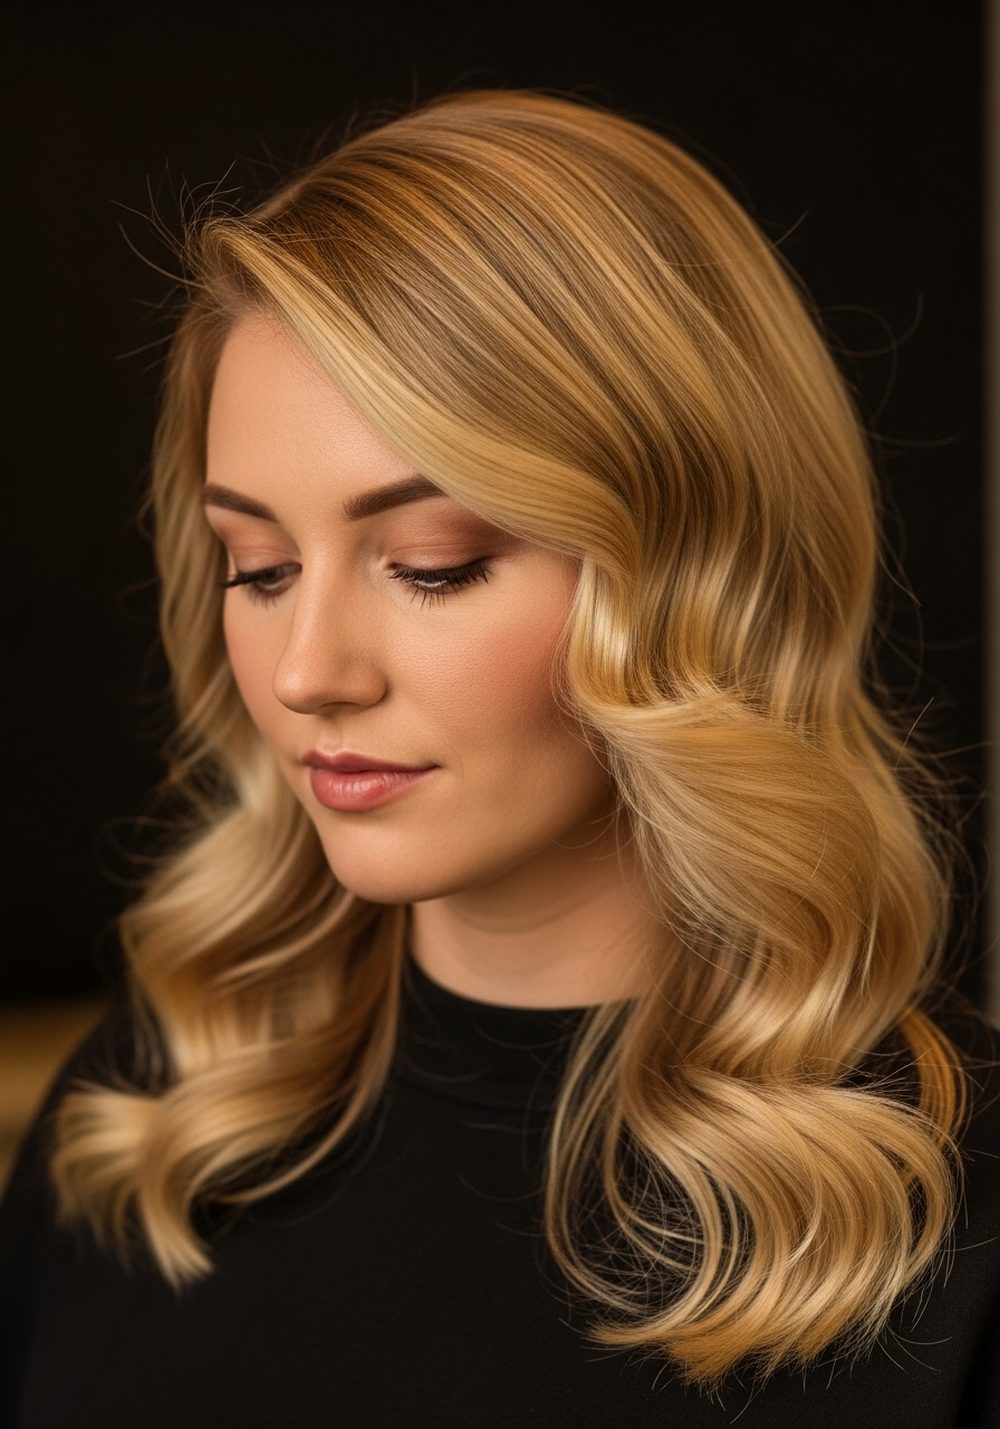
This mannequin transformation turns simple curls into red-carpet waves with that glossy, S-shaped pattern. It teaches you direction of curl, consistent size, and how to brush out without losing shape. A deep side part adds instant drama and works wonders for round and square faces by creating asymmetry. On real hair, this style looks beautiful on medium to long lengths and naturally straight or wavy textures. Focus on curling everything away from the face on both sides for a uniform, polished effect. The magic is in the brush-out, not just the curling. One pro tip: let each curl cool completely before brushing; that’s what keeps the waves defined instead of fluffy.
How To Style
- Draw a deep side part on your mannequin from front hairline to crown.
- Curl hair in uniform sections, all directed away from the face.
- Allow curls to cool fully, then brush gently with a soft paddle or dressing brush.
- Use your fingers to refine the S-waves and smooth the surface.
- Mist with light-hold spray to set without stiffness.
Best For
- Face shapes: Round, square, oval
- Hair: Straight or wavy, medium to long
Tools & Products
- Curling iron or wand
- Tail comb for parting
- Paddle or dressing brush
- Sectioning clips
- Light-hold hairspray
3. High Wrapped Power Ponytail
A high ponytail can instantly transform a mannequin from basic to bold and editorial. This look is perfect for practicing tension control, brush direction, and clean finishes around the hairline. The wrapped base hides the elastic and makes the style look professional in photos or practical exams. On a client, this high pony flatters oval and heart-shaped faces by lifting the features and opening the cheekbones. It works best on straight or slightly wavy hair but can be smoothed over curls too. Use this style to practice getting rid of bumps and flyaways with minimal product. Pro tip: brush the hair up toward the point where you want the ponytail to sit, not straight back, for a snatched result.
How To Style
- Brush mannequin hair upward into a high pony at or above crown level.
- Secure with a strong elastic.
- Take a thin section from the ponytail, wrap it around the base, and pin under.
- Smooth the top and edges with a small amount of cream or spray.
- Optional: lightly curl the ponytail lengths for extra movement.
Best For
- Face shapes: Oval, heart
- Hair: Straight or wavy, medium to long
Tools & Products
- Paddle brush
- Strong hair elastic
- Bobby pins
- Light styling cream or gel
- Fine-mist hairspray
4. Dutch Braid Mohawk Transformation
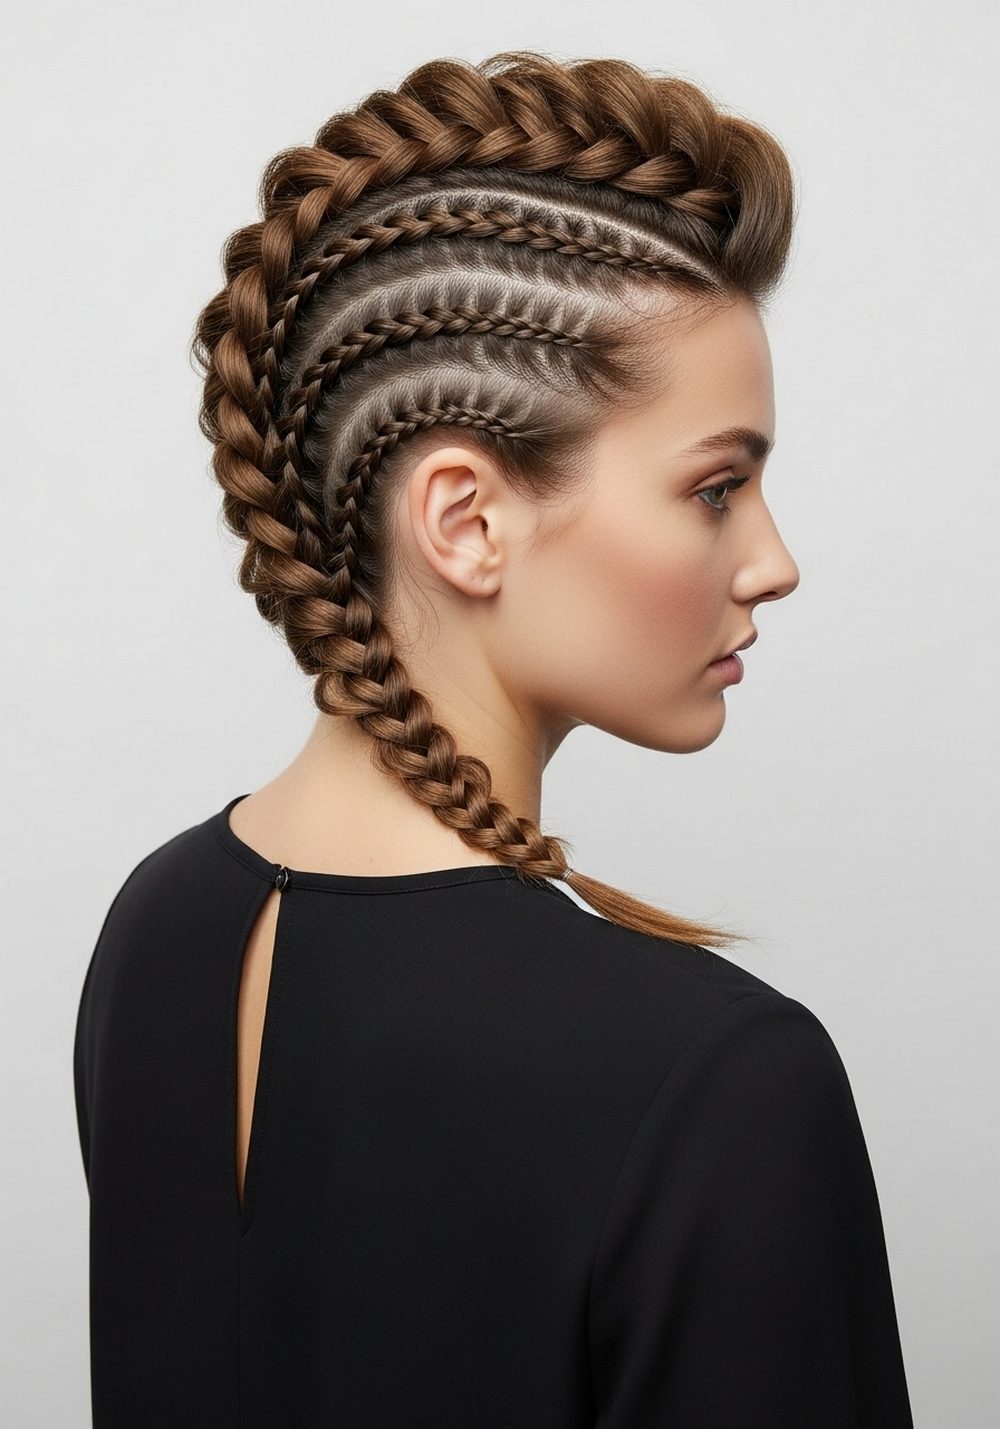
This Dutch braid mohawk gives your mannequin major attitude and lets you practice inside-out braiding and volume. It’s a great way to work on tight, even tension down the center of the head while keeping the sides clean and flat. The result is bold but still wearable on clients who like edgier looks. On real heads, this style suits oval and long faces, and looks especially striking on straight or wavy hair. Make the braid slightly chunky so it pops from the head. One pro tip: after you finish, gently pancake the braid (pulling at the outer edges) to widen it and create a fuller mohawk effect without losing structure.
How To Style
- Create a wide central section from front hairline to nape on your mannequin.
- Clip away the sides.
- Begin a Dutch braid at the front, adding hair as you move toward the nape.
- Secure at the end with a small elastic.
- Gently pinch and pull the braid edges to widen and shape the mohawk.
Best For
- Face shapes: Oval, long
- Hair: Straight or wavy, medium to long
Tools & Products
- Tail comb
- Sectioning clips
- Small hair elastics
- Light-hold gel or cream
- Finishing spray
5. Soft Braided Crown Halo
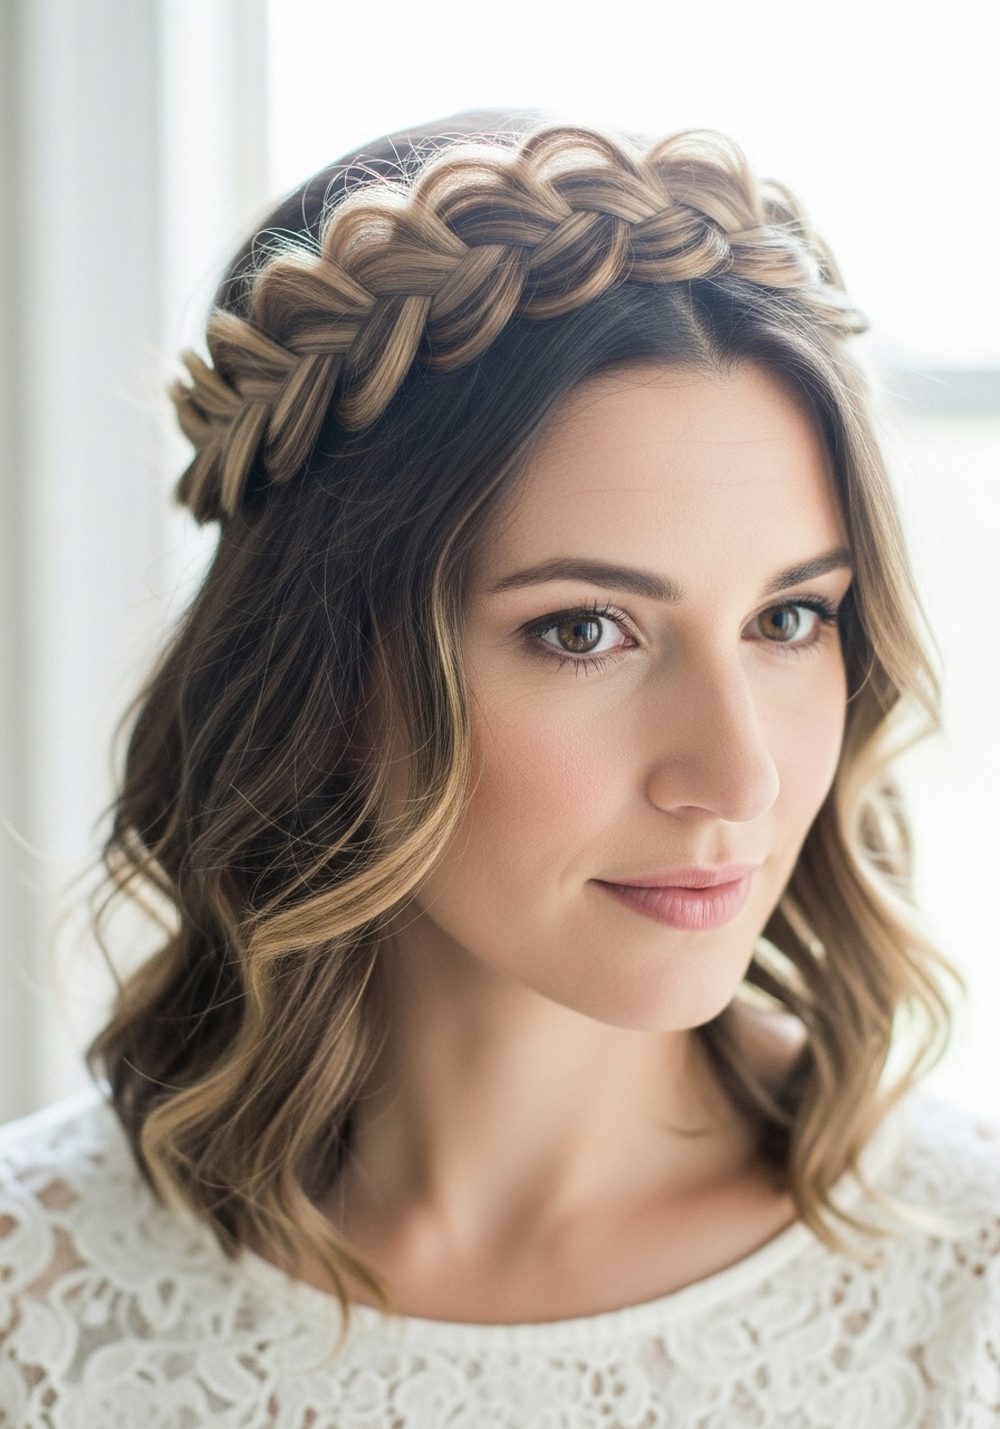
The braided crown halo transforms your mannequin into a soft, romantic look that’s ideal for bridal or festival practice. It teaches you to work around the head shape, connect braids neatly, and hide ends for a clean finish. This style instantly upgrades simple, mid-length hair into something photo-ready. On clients, a halo braid flatters heart and oval faces and works on straight, wavy, or loose curls. Focus on balanced placement so the “crown” feels even from all angles. One pro tip: keep the braid slightly loose and airy rather than tight, so it looks soft and flattering instead of severe.
How To Style
- Part hair down the middle on your mannequin and create two low pigtails.
- Braid each side into a simple three-strand or Dutch braid and secure the ends.
- Wrap each braid up and over the head like a headband.
- Pin the ends securely and tuck them under the opposite braid.
- Gently pull at sections to soften and widen the crown.
Best For
- Face shapes: Heart, oval
- Hair: Straight, wavy, or loosely curly, medium to long
Tools & Products
- Tail comb
- Small elastics
- Bobby pins
- Light texture spray
- Soft-hold hairspray
6. Half-Up Mini Top Knot Volume
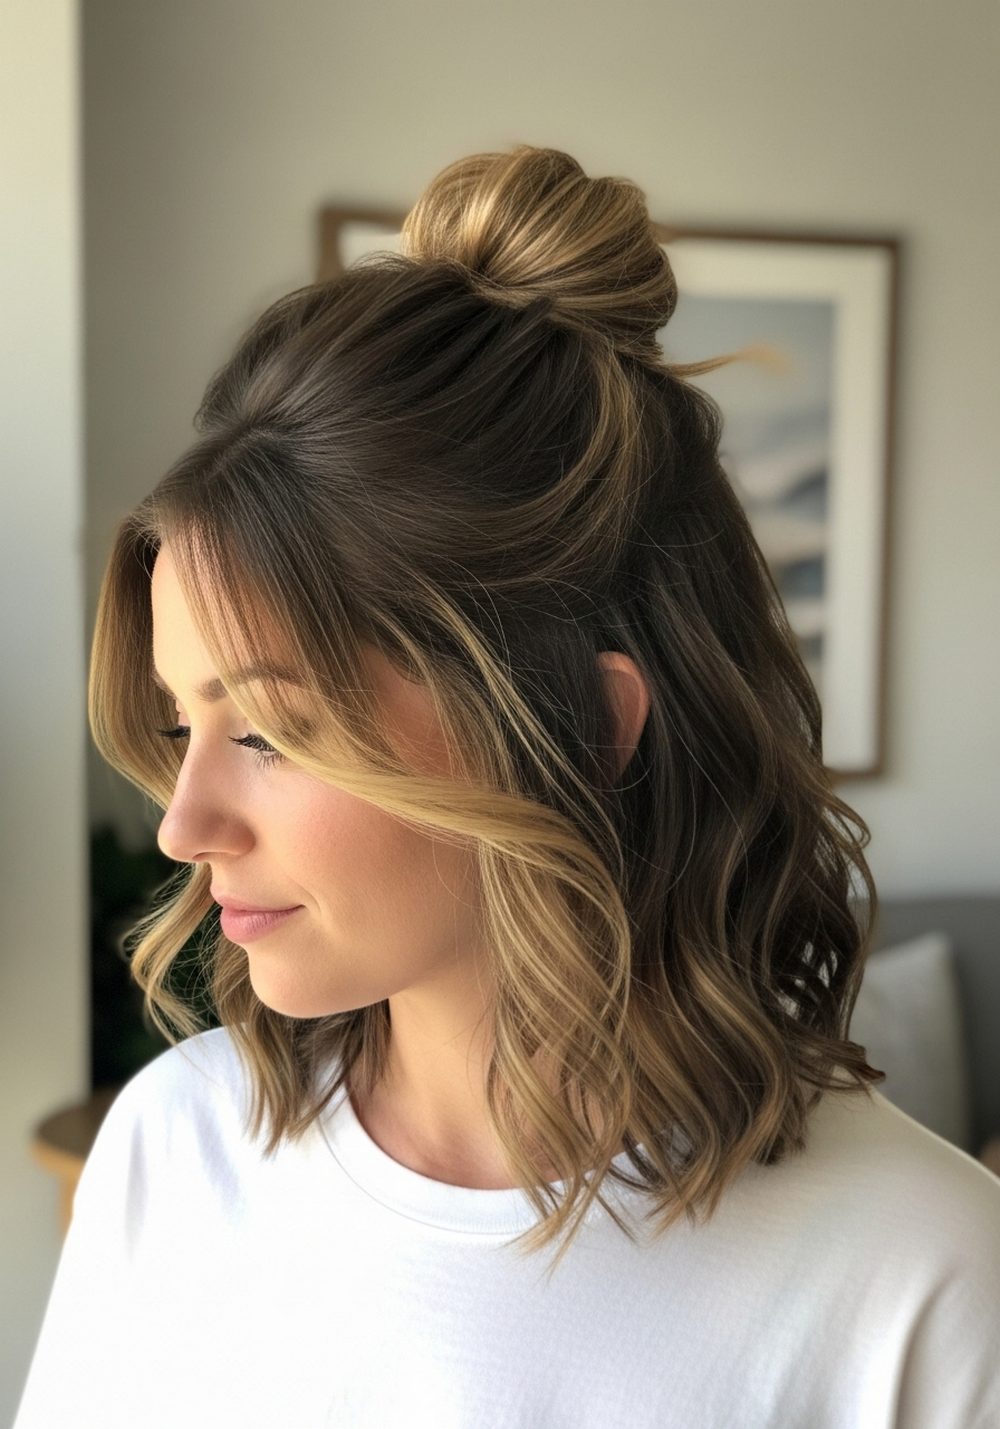
This half-up mini top knot gives your mannequin playful height without taking all the hair off the face. It’s perfect for practicing volume at the crown, clean sectioning, and balancing the silhouette from profile view. The look works as an everyday style or casual event look in your portfolio. On clients, it’s flattering for round and oval faces because it lengthens the overall shape. It’s especially good on wavy or slightly textured hair, which helps the knot grip. One pro tip: backcomb the crown area lightly before creating the knot so it doesn’t collapse after you twist and pin.
How To Style
- On your mannequin, section from the temples up to the crown in a horseshoe shape.
- Lightly backcomb the roots in this top section for height.
- Twist the section into a small bun or knot at the crown and secure with pins.
- Leave the remaining hair down, either natural or lightly waved.
- Smooth any flyaways while keeping the overall texture soft.
Best For
- Face shapes: Round, oval
- Hair: Wavy or straight with light texture, medium to long
Tools & Products
- Tail comb
- Teasing comb or brush
- Bobby pins
- Texture spray or dry shampoo
- Light-hold hairspray
7. Faux Curtain Bangs Pin-Back

If your mannequin doesn’t have bangs, this transformation lets you fake curtain bangs using face-framing sections. It’s a great way to practice flattering angles around the face without picking up scissors. You’ll learn how to direct hair away from the face while still keeping softness through the cheeks. On clients, this style works beautifully for round, heart, and oval faces and suits straight or wavy textures. Focus on creating an open center with hair sweeping outwards on both sides. One pro tip: over-direct the front sections slightly forward before pinning them back so they naturally fall in that gentle curtain shape.
How To Style
- On your mannequin, part the hair down the center or slightly off-center.
- Take two front sections near the face, from part to just above the temples.
- Lightly bend these sections with a flat iron or curling iron, directing hair away from the face.
- Pin each section back just behind the ear, leaving soft volume over the forehead.
- Style the rest of the hair straight or wavy to complement the front.
Best For
- Face shapes: Round, heart, oval
- Hair: Straight or wavy, medium length
Tools & Products
- Tail comb
- Flat iron or curling iron
- Bobby pins
- Lightweight smoothing cream
- Light-hold hairspray
8. Low Textured Braided Bun
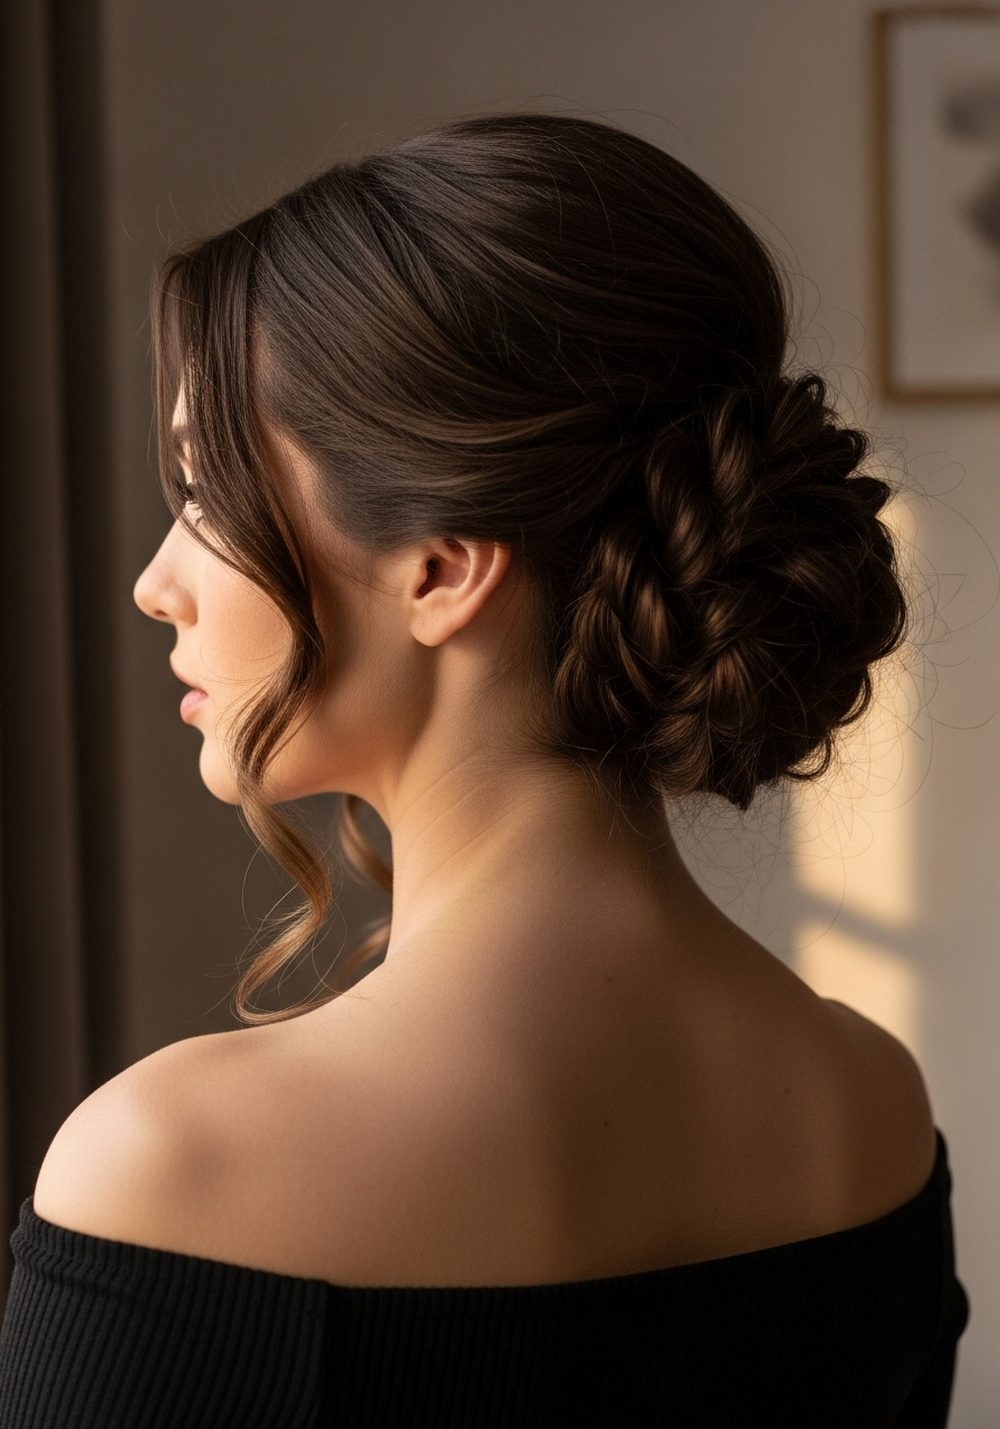
The low textured braided bun is a mannequin classic that always looks elegant and refined. It’s ideal for practicing bridal or formal styling, especially how to build shape at the nape and hide pins. The texture from braids keeps the bun secure and interesting in photos. On clients, this look flatters long, oval, and heart-shaped faces and works well on wavy or curled hair. You’ll learn how to combine structure and softness at the same time. One pro tip: curl or wave the hair first so the braids and bun look fuller and more dimensional, even on thinner mannequin hair.
How To Style
- Curl your mannequin’s hair lightly for texture.
- Gather hair into a low ponytail at the nape and secure with an elastic.
- Divide the pony into two or three sections and braid each one.
- Wrap the braids around the base of the ponytail to form a bun and pin securely.
- Gently loosen some pieces for softness around the bun and face.
Best For
- Face shapes: Long, oval, heart
- Hair: Wavy or curled, medium to long
Tools & Products
- Curling iron
- Hair elastic
- Bobby pins
- Texture spray
- Medium-hold hairspray
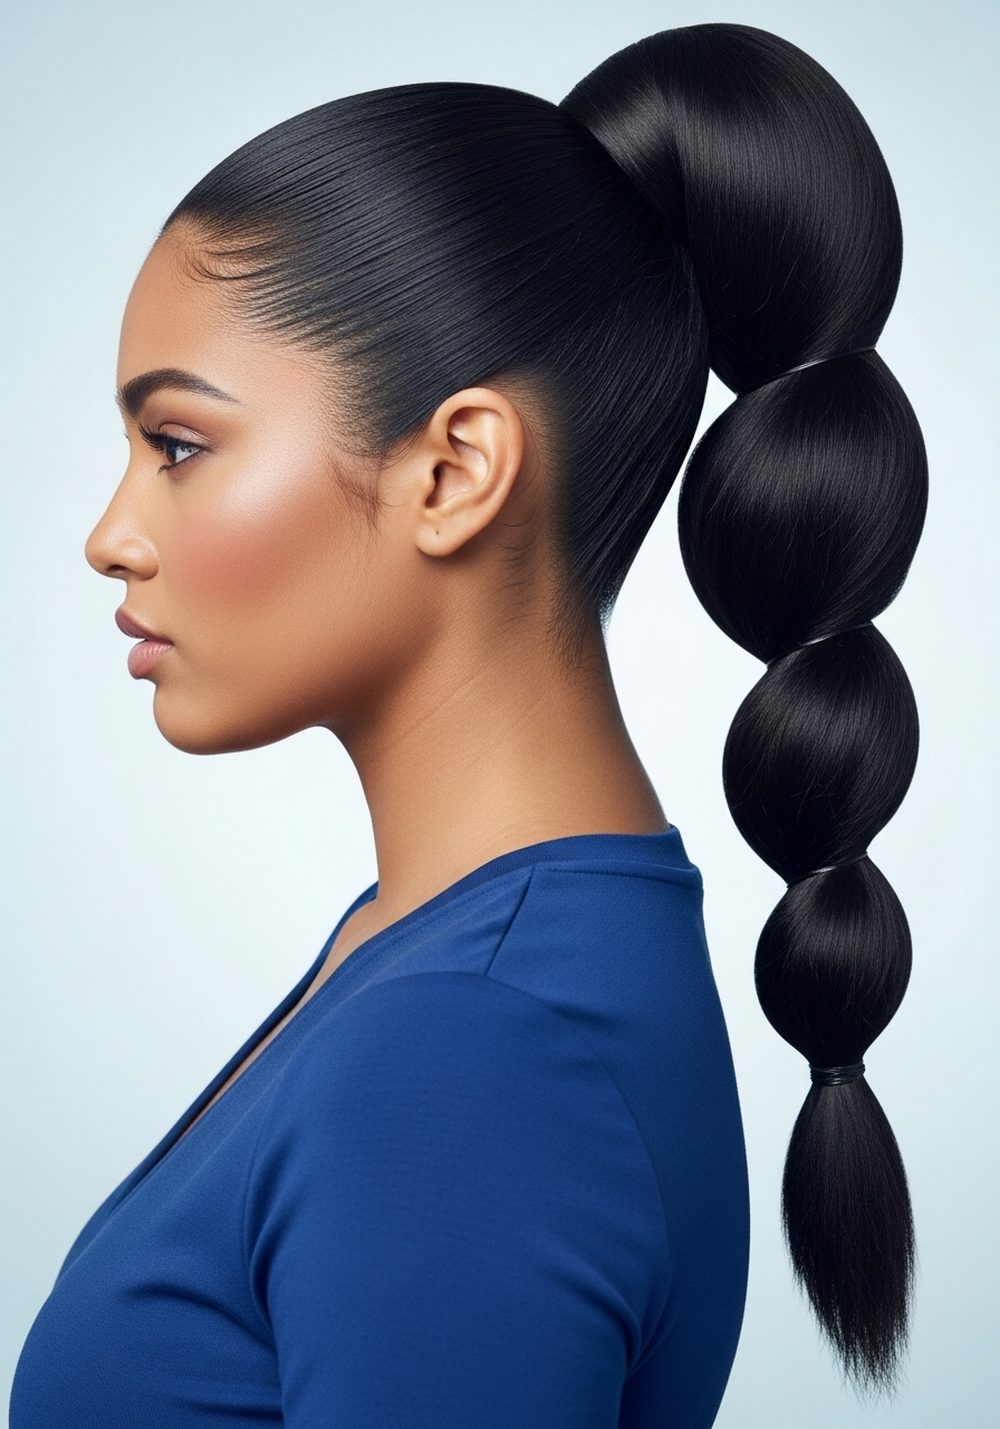
9. Bubble Braid Statement Pony
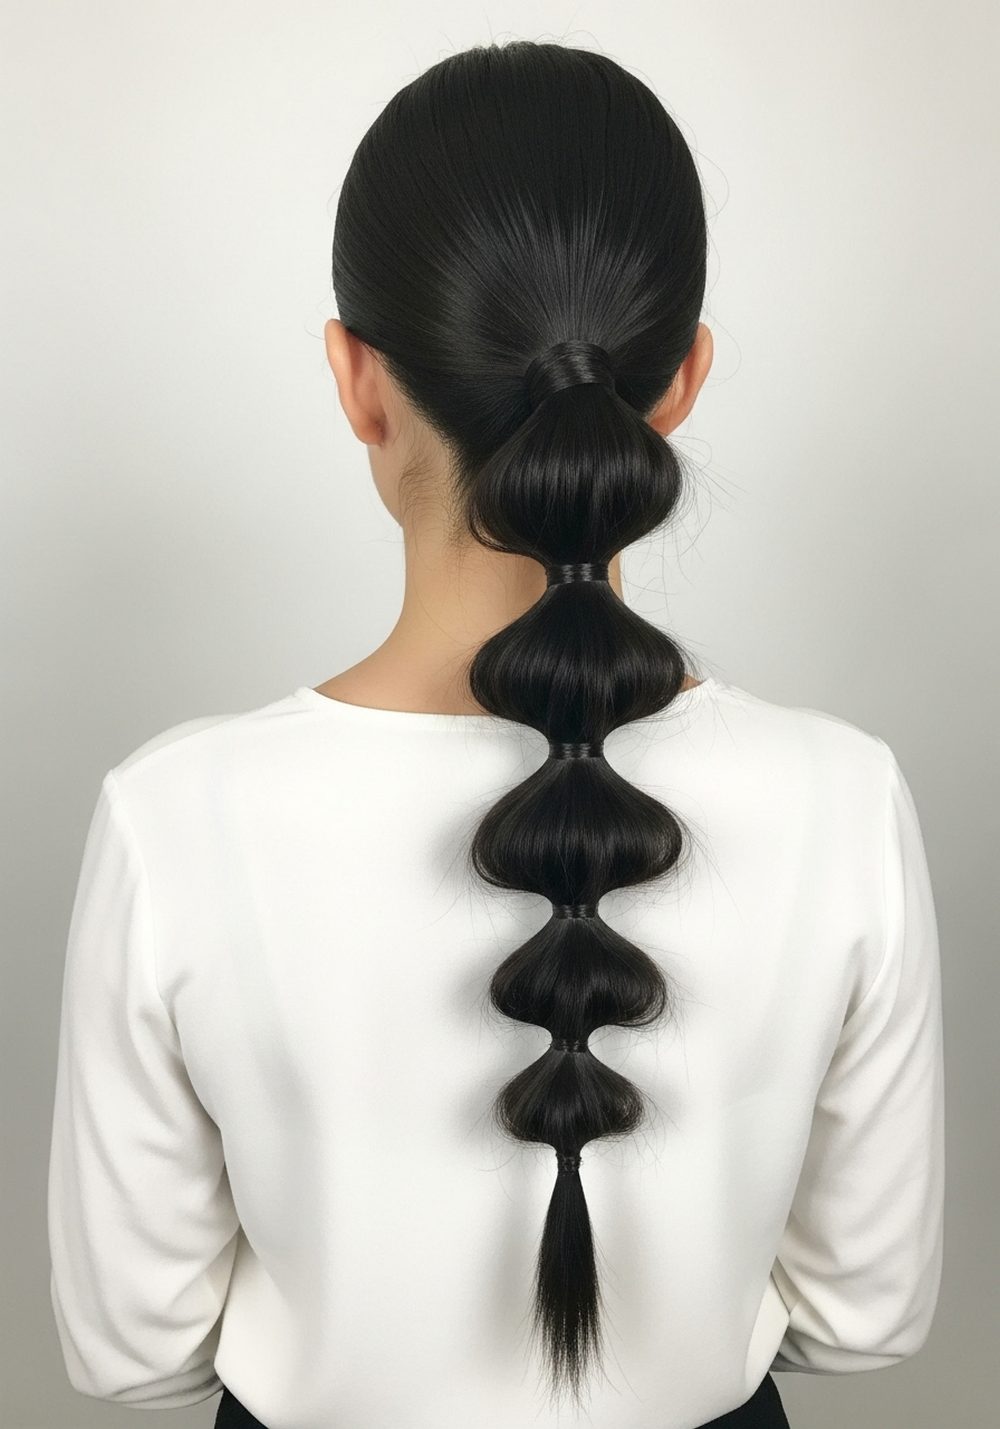
The bubble braid is a fun transformation that makes even basic mannequin hair look editorial and bold. It’s perfect for learning even spacing, clean elastics, and how to puff out sections without making them messy. This look photographs really well for portfolios and suits both casual and special-occasion vibes. On real hair, it works for most face shapes, especially round and square, because the vertical line of the pony elongates the silhouette. It’s great on straight or slightly wavy textures. One pro tip: after securing each elastic, gently tug only the sides of the section, not the top and bottom, to create a neat rounded “bubble.”
How To Style
- Pull mannequin hair into a low or mid-height ponytail and secure.
- Place small elastics evenly spaced down the length of the ponytail.
- After each elastic, gently pull the hair outward to create a bubble shape.
- Continue until you reach the ends, leaving a small tail at the bottom.
- Smooth the top and define each bubble as needed.
Best For
- Face shapes: Round, square, oval
- Hair: Straight or wavy, medium to long
Tools & Products
- Paddle brush
- Hair elastic plus multiple small elastics
- Tail comb for spacing
- Smoothing cream or serum
- Light-hold hairspray
10. Defined Curls Refresh Makeover
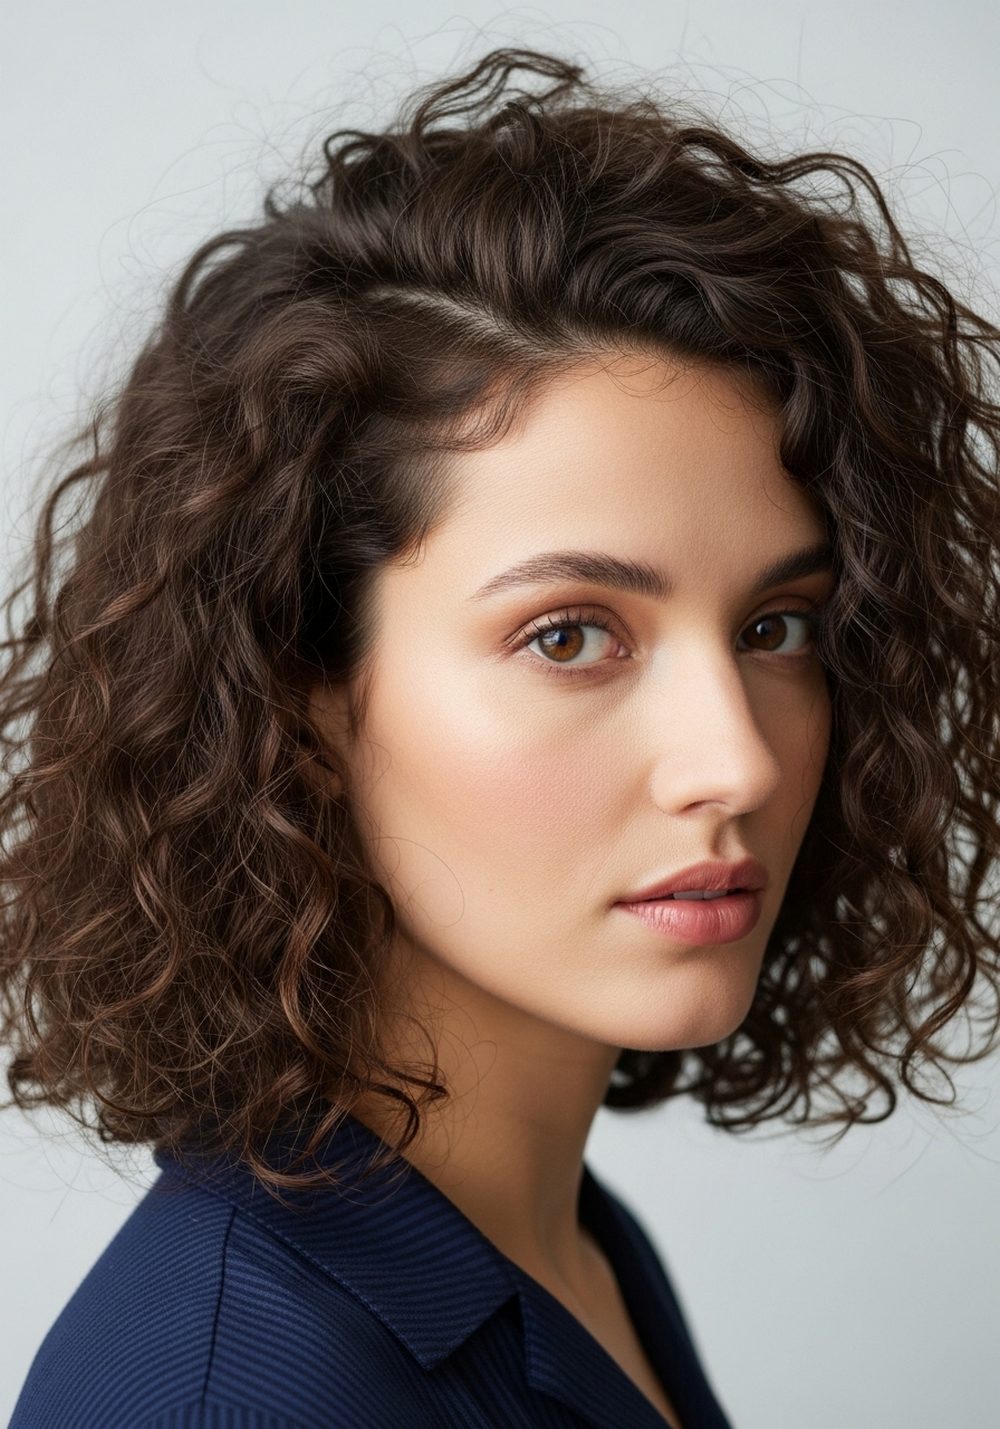
Take frizzy, undefined mannequin curls and transform them into shiny, separated spirals. This look is all about learning product distribution, sectioning, and curl-friendly handling. It’s perfect for practicing techniques you’ll use on naturally curly clients who want more definition without a blowout. On real hair, defined curls flatter almost every face shape—round, oval, heart, and long—when you keep volume balanced around the cheeks and crown. Pay attention to how much product you use and how you scrunch or twist each section. One pro tip: avoid brushing through curls once they’re set; use your fingers to separate and define instead so you don’t stir up frizz.
How To Style
- Lightly mist your mannequin’s curls with water and apply a curl cream or mousse.
- Work in small sections, twisting or scrunching each one to encourage curl pattern.
- Allow curls to air-dry or diffuse on low heat.
- Once dry, separate larger curls gently with your fingers.
- Add a small amount of lightweight oil only on mid-lengths and ends if needed.
Best For
- Face shapes: Round, oval, heart, long
- Hair: Curly or very wavy, medium to long
Tools & Products
- Wide-tooth comb
- Spray bottle with water
- Curl cream or mousse
- Diffuser attachment (optional)
- Lightweight hair oil
Conclusion
Your mannequin is the perfect place to make mistakes, experiment, and refine your technique before you touch a real client. These 10 transformations cover core skills you’ll use every day in the salon: sectioning, tension, polishing, volume, and working with different textures. Pick one style to master this week, then time yourself and photograph the result so you can track progress. As your hands get quicker and your finishes cleaner, repeat the same looks with small variations in parting, height, and texture to stretch your creativity even more.
CTA
Pick one of these mannequin hair transformations, set a 30-minute timer, and style it from start to finish—then take clear before-and-after photos to build your portfolio and track your progress.
FAQs
1. Do I need expensive tools to practice these mannequin hairstyles?
No, you can create all of these looks with basic tools like a blow dryer, flat iron or curling iron, combs, brushes, clips, elastics, and bobby pins. A few simple styling products are enough to get a polished finish while you focus on technique.
2. How often should I change styles on my mannequin?
You can restyle your mannequin as often as you like, as long as you’re gentle and avoid excess heat. Many students redo the same style several times in a week to build muscle memory before moving on to the next look.
3. Is it okay to cut my mannequin’s hair for practice?
You can, but think carefully before you do it because you can’t put the length back. Many learners keep one mannequin for cutting practice and another for styling so they still have enough hair to work with for braids and updos.
4. How can I make my mannequin styles look good in photos?
Use simple, clean backgrounds and even lighting, then frame the head and shoulders so the hairstyle is the focus. Smooth flyaways, check the style from all angles, and take close-ups of details like braids and buns.
5. What if my mannequin hair is very tangled or dry?
Start with a gentle detangle using a wide-tooth comb and a little water or leave-in conditioner. Work from the ends upward in small sections, and avoid yanking so the hair stays intact for more practice sessions.


