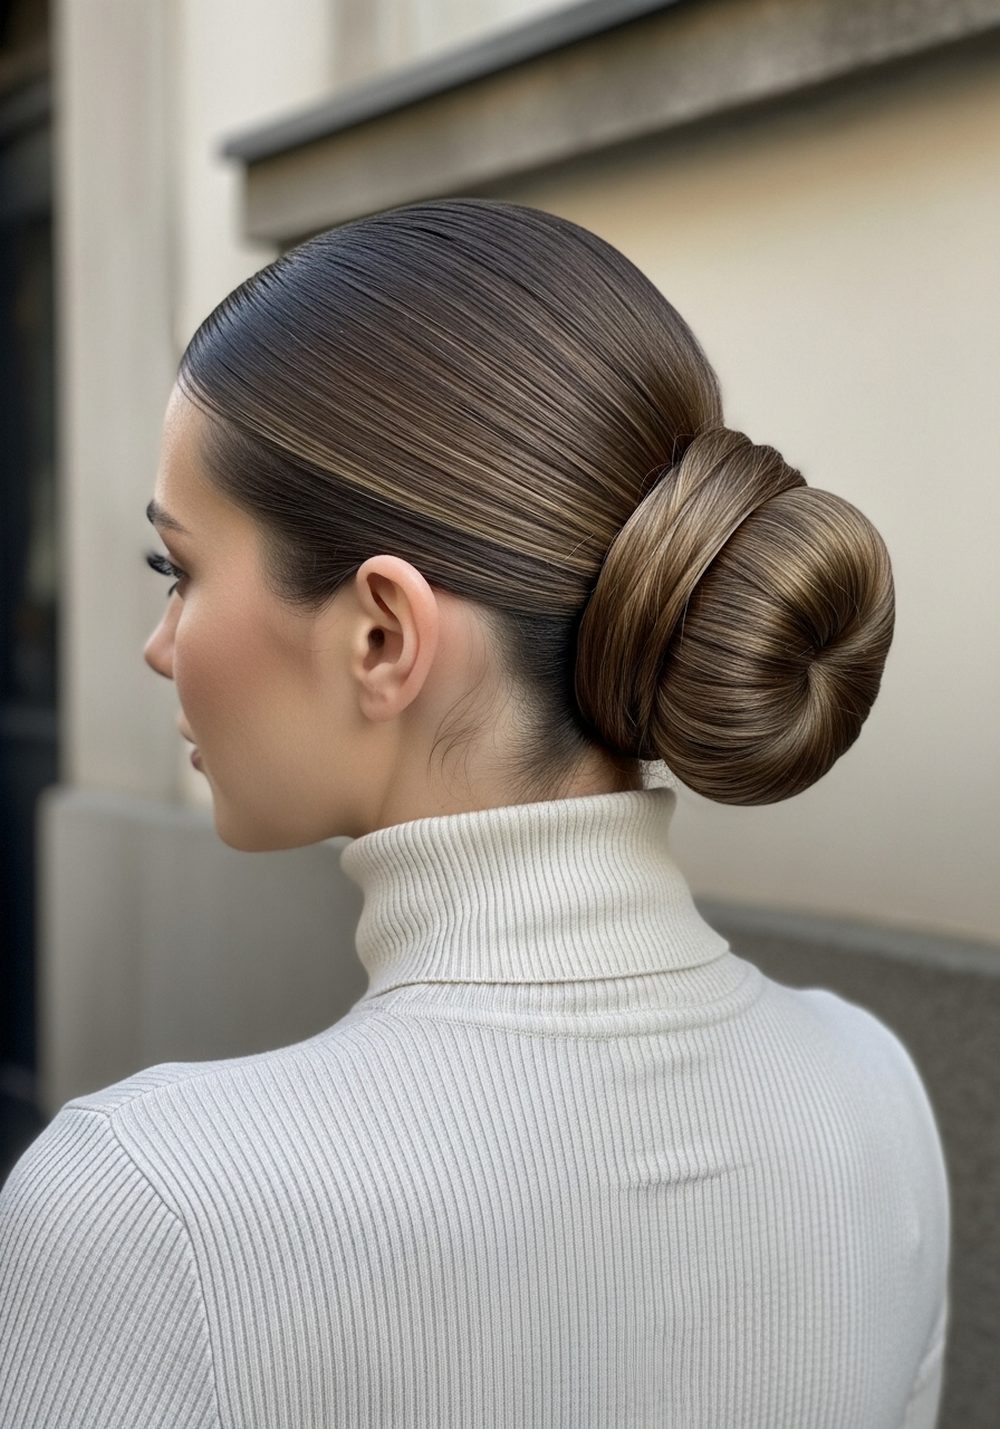
12 Sleek Low Bun Hairstyles That Look Clean and Expensive
Sleek low buns are the shortcut to looking polished, put-together, and a little bit expensive with almost no effort. This list gives you 12 different low bun looks, from glass-sleek buns to twisted knots and braided bases. You’ll find options that work for straight, wavy, and curly hair, plus ideas that balance round, heart, oval, and square face shapes with smart parting and height.
Before you start, brush out tangles, smooth a light leave-in or serum through your lengths, and keep a fine-tooth comb, elastics, and pins nearby. A little gel or styling cream will keep your part razor-sharp and your hairline smooth. Whether you’re heading to work, a wedding, or a dinner date, these buns will help you look like you planned ahead—even if you didn’t.
Quick List
- Glass-Sleek Center Part Low Bun
- Deep Side Part Hollywood Low Bun
- Wrapped-Base Low Knot
- Low Braided Bun With Sleek Crown
- Clean Middle-Part Low Chignon
- Slicked-Back Low Bun With No Part
- Rope-Twist Low Bun
- Low Bubble Bun With Sleek Top
- Curly Sleek Low Bun With Defined Edges
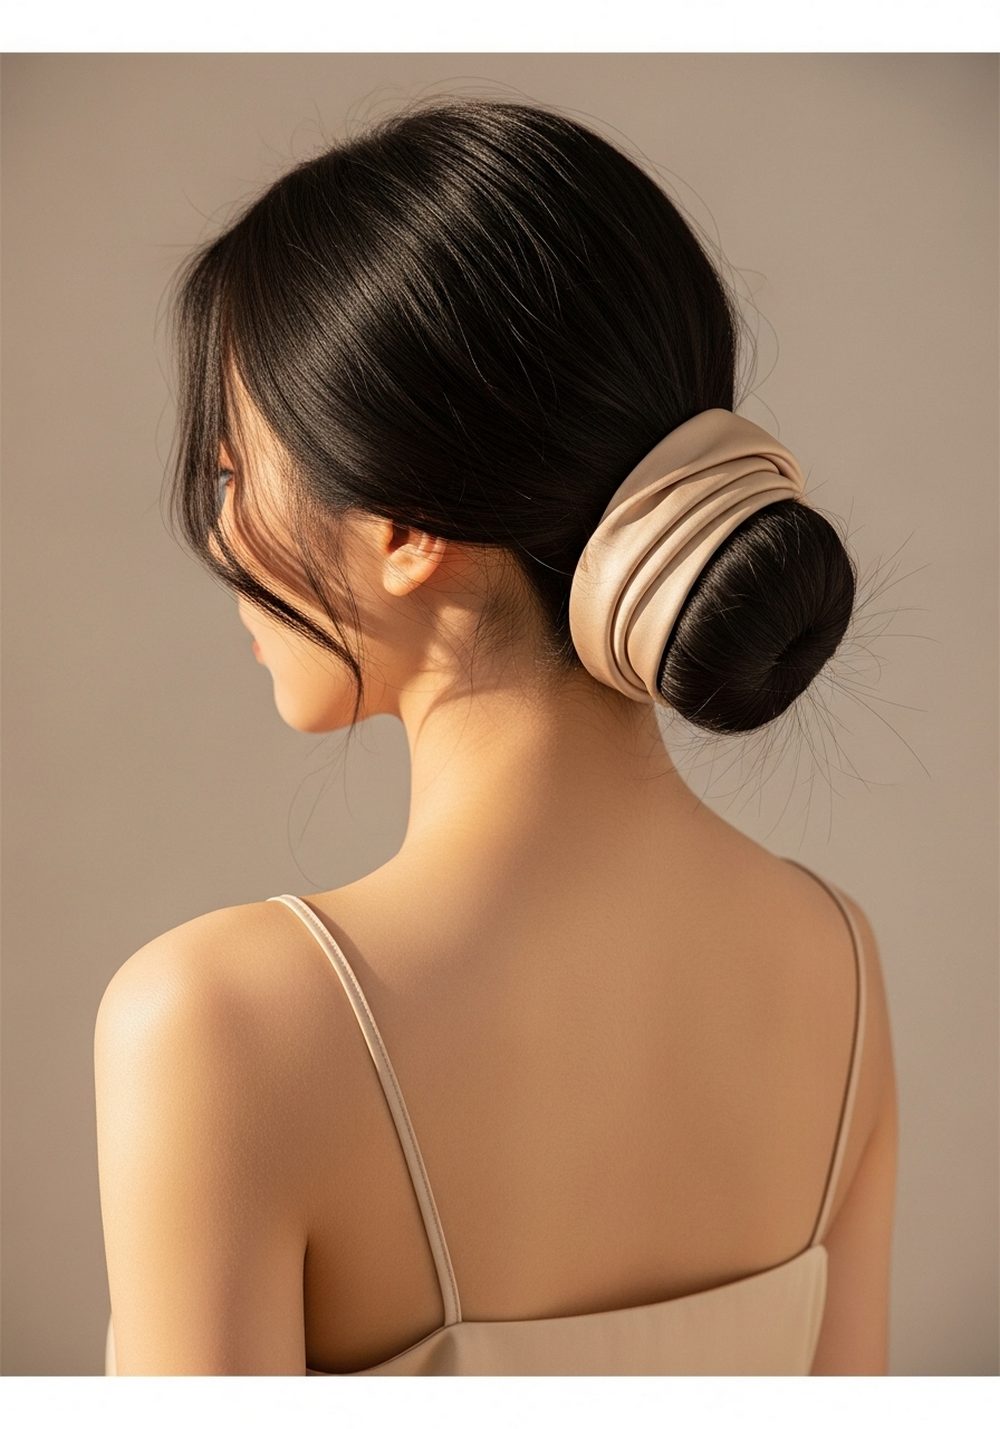
- Low Bun With Hair Wrap “Ribbon”
- Sleek Low Bun With Soft Face-Framing Pieces
- Polished Low Bun With Subtle Volume at Crown
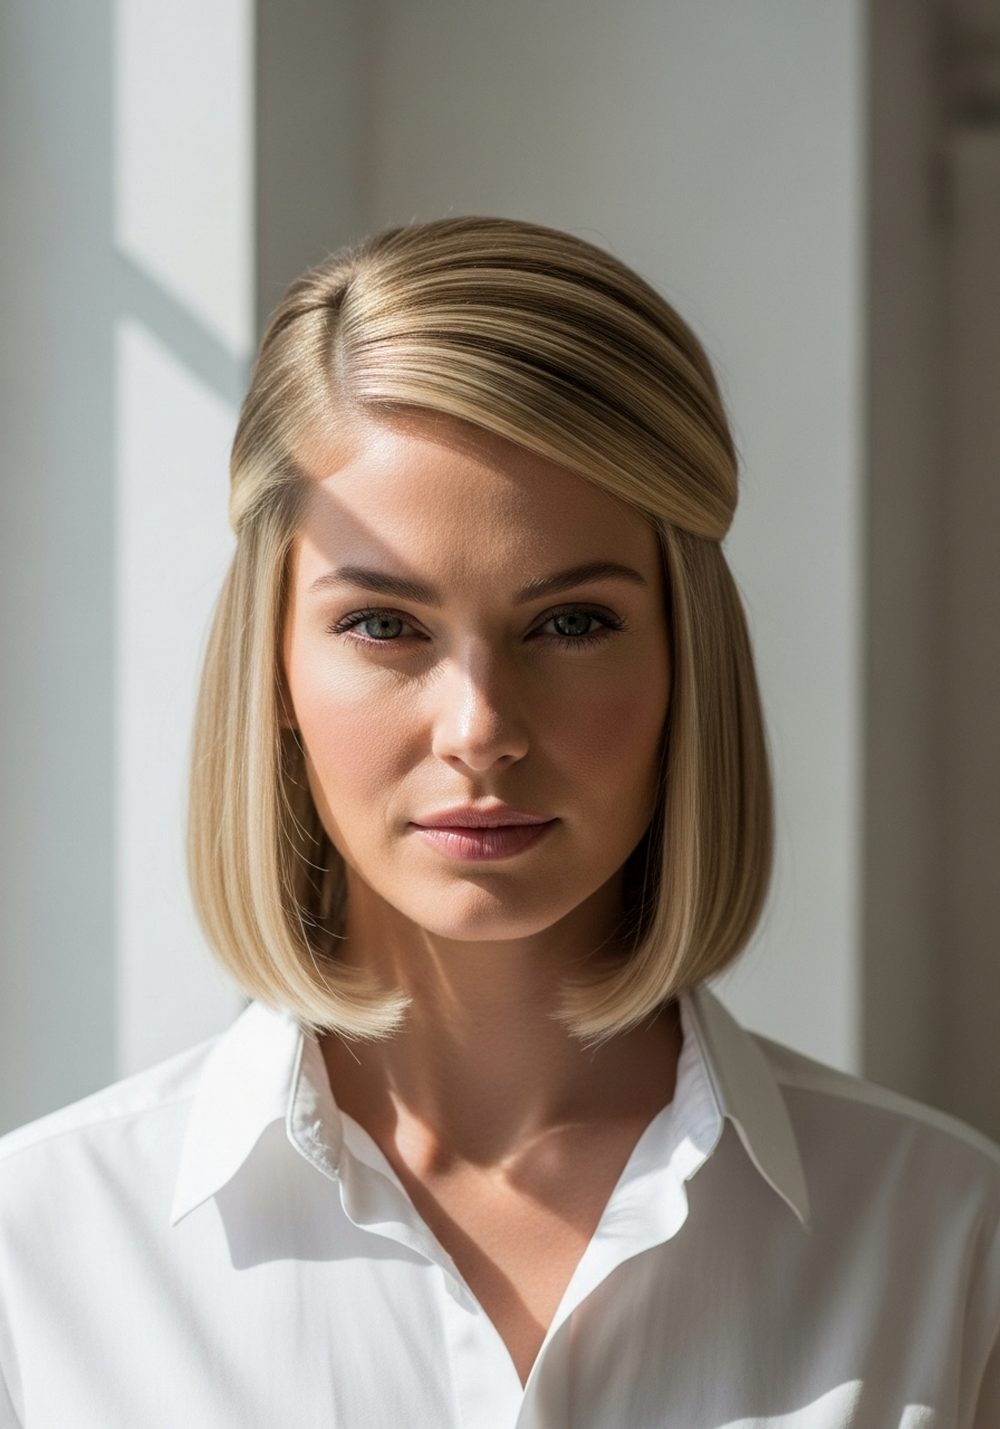
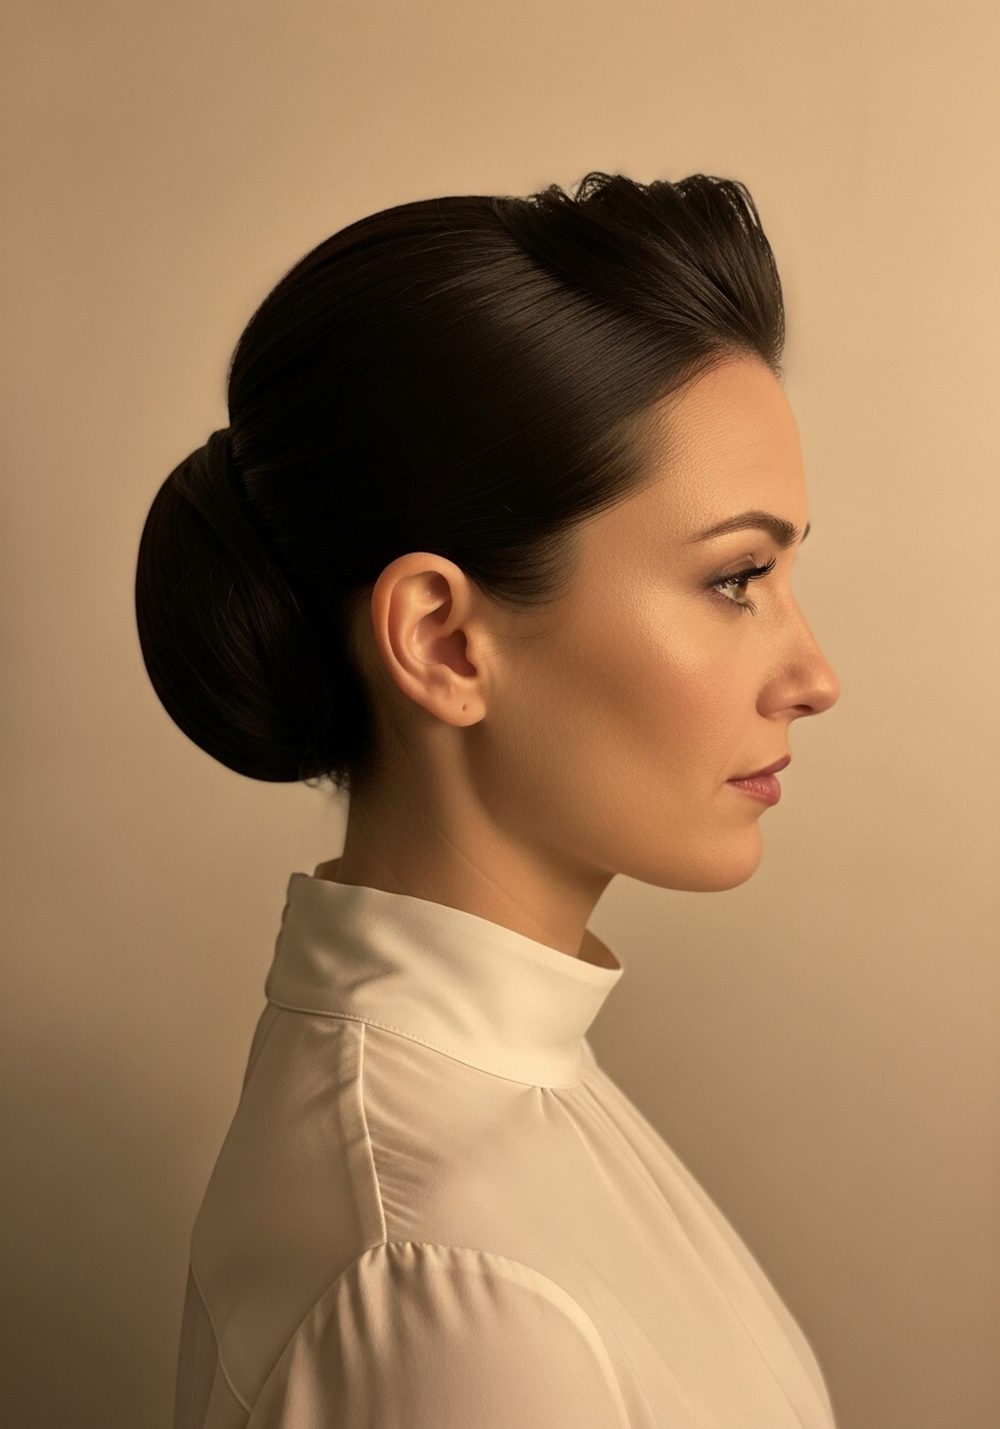
1. Glass-Sleek Center Part Low Bun
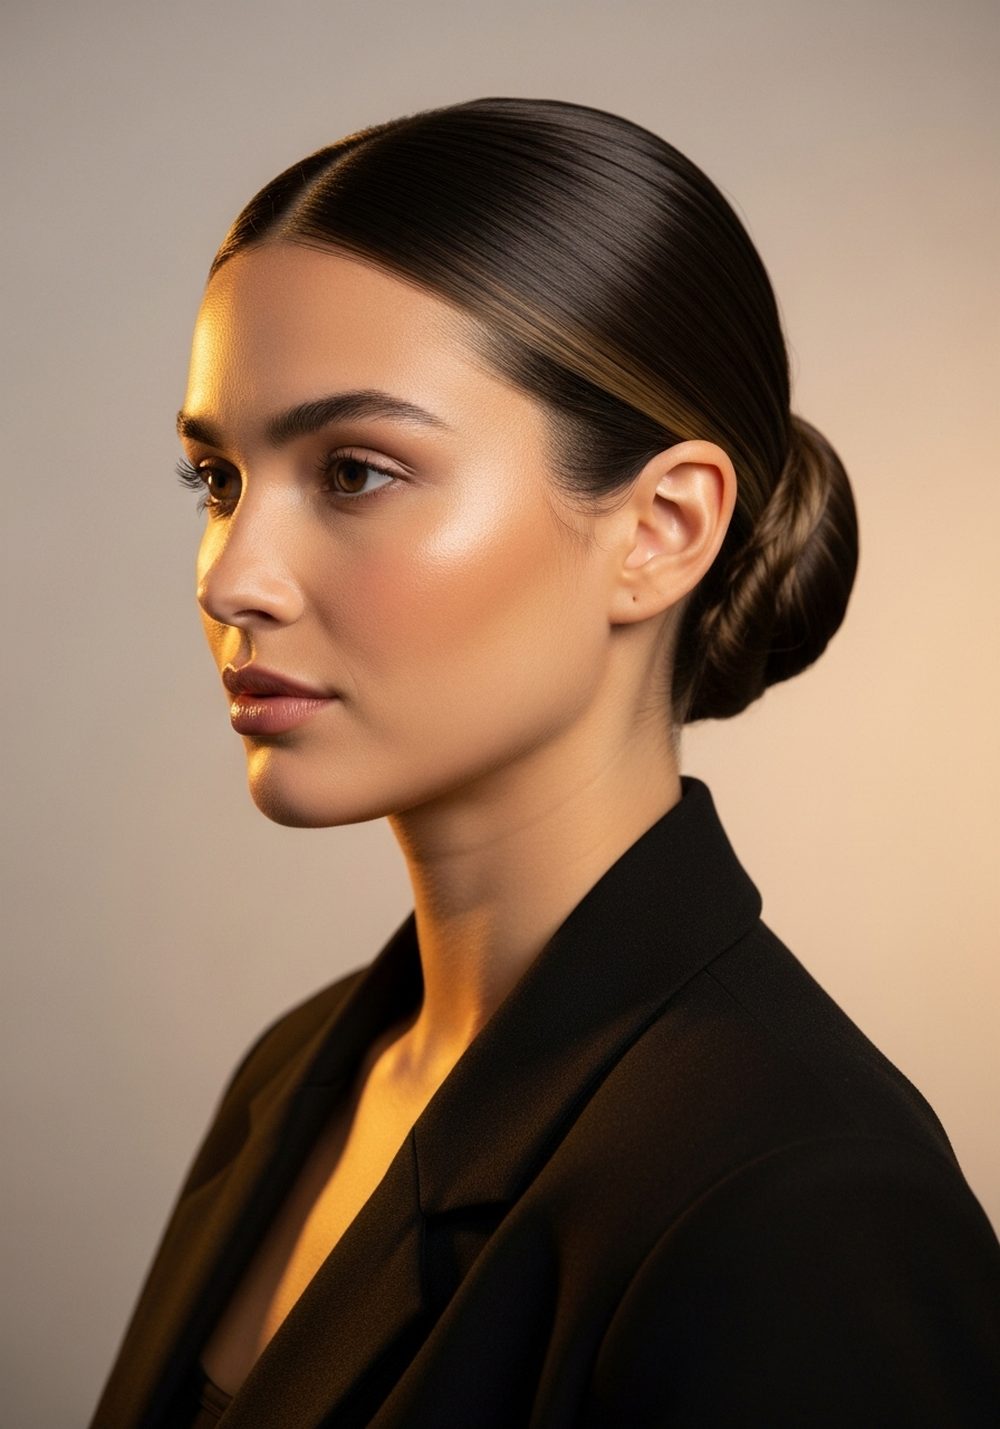
This is the classic “old money” sleek low bun: sharp middle part, smooth surface, and a tight, glossy finish at the nape. It works for the office, dinners, and any event where you want to look expensive but understated. The clean center part helps balance round and heart-shaped faces, while the low placement keeps the look minimal and elegant. Focus on shine and smoothness rather than volume.
Pro tip: Apply your smoothing product in layers—first on damp hair, then a tiny bit again after styling—to get that glassy finish without weighing your hair down.
How To Style
- Part your hair down the center with a tail comb.
- Brush hair straight back and down toward the nape.
- Apply gel or cream along the part and hairline, then comb flat.
- Secure a low ponytail, twist it, and coil into a bun.
- Pin and finish with shine spray.
Best For
Oval, round, and heart faces; straight or slightly wavy hair.
Tools & Products
- Fine-tooth tail comb
- Soft bristle brush
- Light gel or styling cream
- Hair elastics
- Bobby pins
- Shine spray
2. Deep Side Part Hollywood Low Bun
The deep side part low bun instantly feels red-carpet and dramatic while still staying clean and simple. Shifting the part to one side brings softness to strong features and adds a “swept” effect that looks amazing in photos. This is perfect for weddings, cocktail nights, or any time you want your hair to feel more glam without adding fuss.
Pro tip: Place your part just above the arch of your brow for the most flattering angle and a quietly dramatic vibe.
How To Style
- Create a deep side part on your preferred side.
- Comb hair diagonally back into a low pony at the nape.
- Smooth flyaways with a fine-tooth comb and gel.
- Twist the pony and wrap into a neat bun.
- Pin securely and mist with strong-hold spray.
Best For
Heart, square, and oval faces; straight, wavy, or relaxed curls.
Tools & Products
- Tail comb
- Strong-hold gel or cream
- Hair elastics
- Bobby pins
- Setting spray
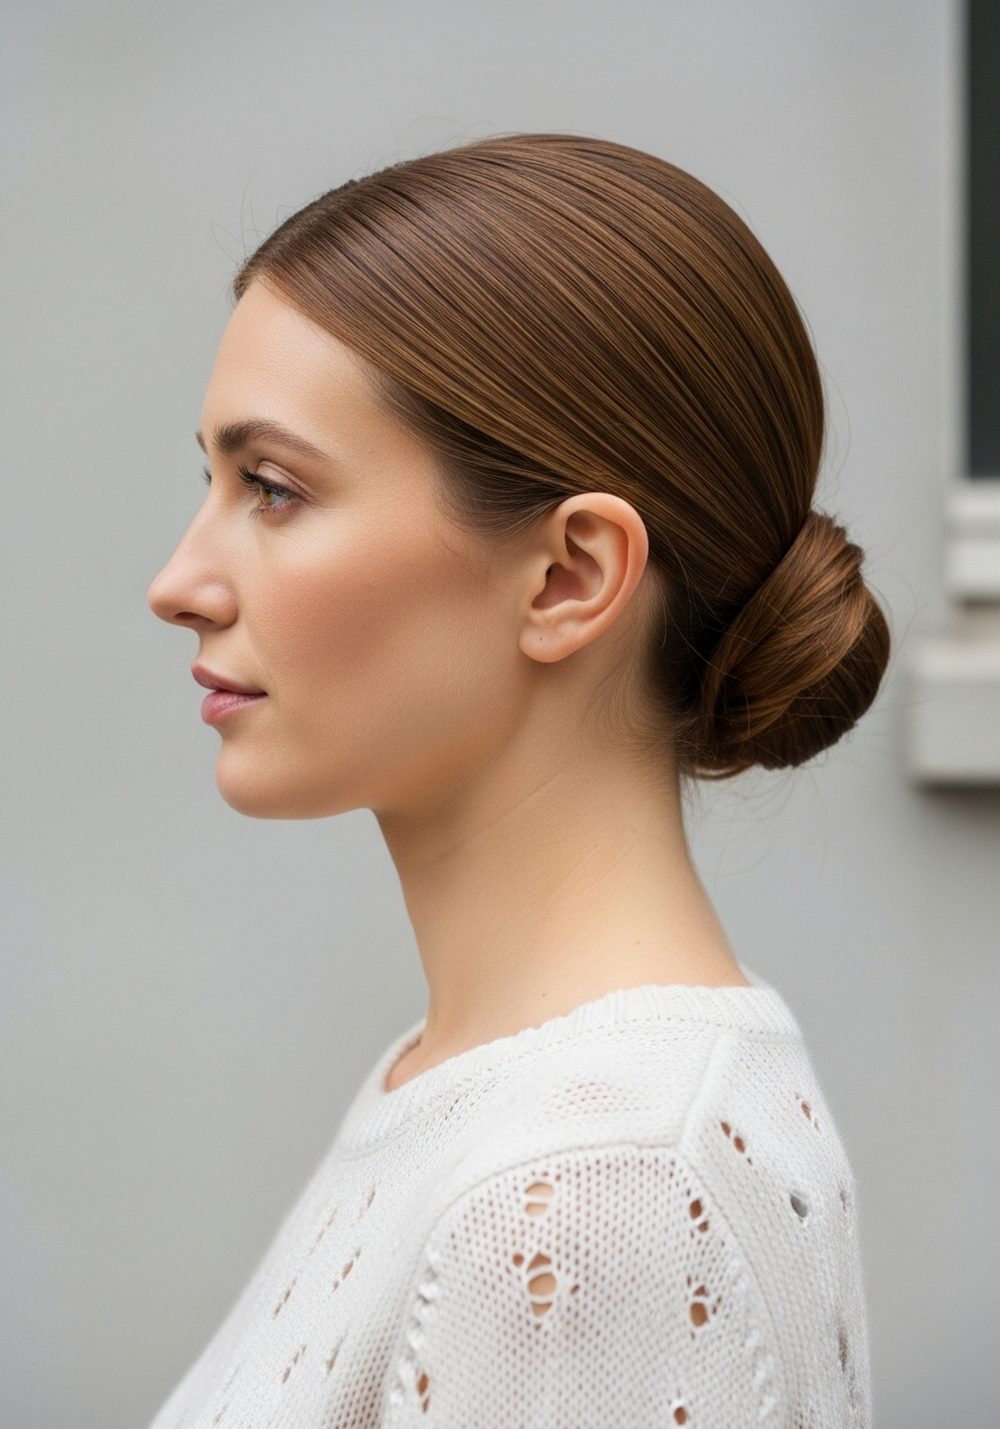
3. Wrapped-Base Low Knot
The wrapped-base low knot looks like salon work but takes just a few extra seconds. A sleek pony is twisted into a knot, then you wrap a small section of hair around the base to hide the elastic. This small detail makes the whole style feel more expensive and intentional. It’s ideal for workdays, date nights, and minimal makeup days where you still want to look polished.
Pro tip: Leave a thin section of hair out of the pony on one side to use as your “wrap” for a cleaner finish.
How To Style
- Brush hair into a low ponytail at the nape.
- Leave a small section out near the base.
- Twist the pony and tie into a compact knot, pinning it.
- Smooth the loose section and wrap it around the elastic.
- Pin the end under the bun and add light shine spray.
Best For
Oval and round faces; straight or smooth wavy hair.
Tools & Products
- Paddle brush
- Lightweight smoothing serum
- Hair elastics
- Bobby pins
- Shine or finishing spray
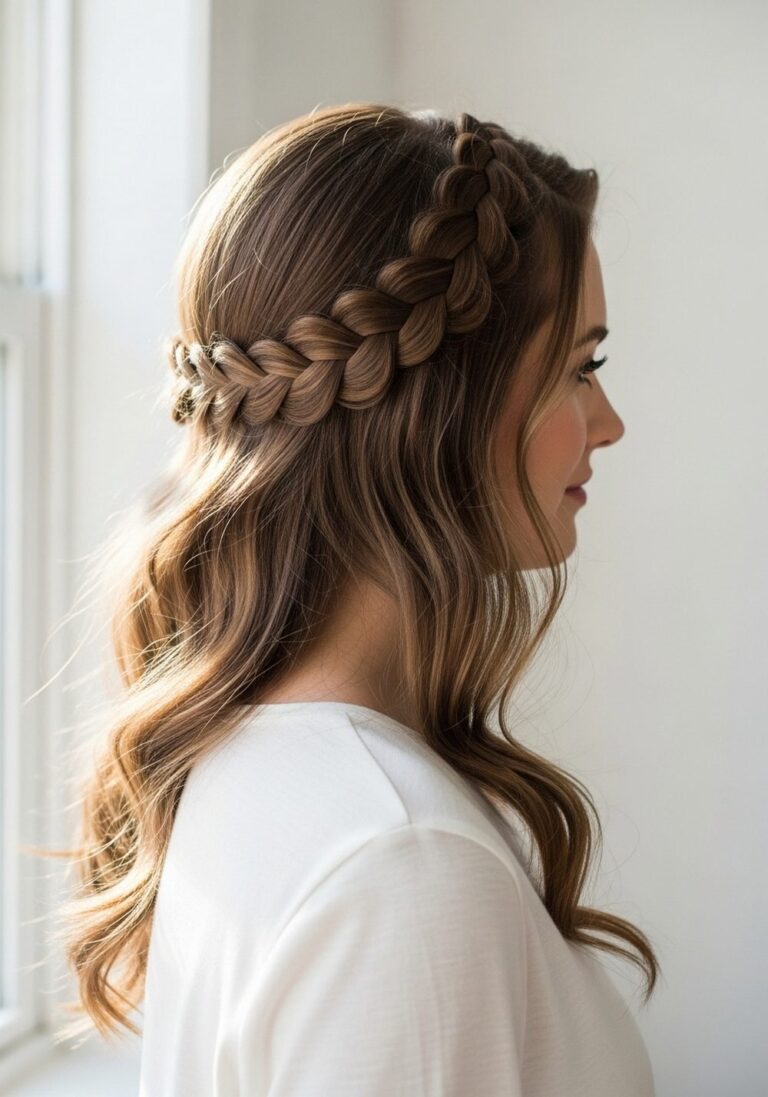
4. Low Braided Bun With Sleek Crown

This sleek braided low bun is great when you want detail without losing that clean, expensive look. The crown and sides are slicked down, while the ponytail is braided before being coiled into a bun. It’s a smart choice for long days, events with dancing, or hot weather because the braid keeps your ends controlled.
Pro tip: Keep the braid tight and even; a loose braid can make the bun look casual instead of polished.
How To Style
- Smooth hair back into a low ponytail and secure.
- Apply a small amount of gel on the tail.
- Braid the pony to the ends and tie off.
- Wrap the braid around the base to form a bun.
- Pin in place and smooth any flyaways at the crown.
Best For
Oval, heart, and long faces; straight, wavy, or stretched curly hair.
Tools & Products
- Fine-tooth comb
- Smoothing gel or cream
- Hair elastics
- Bobby pins
- Light hold spray
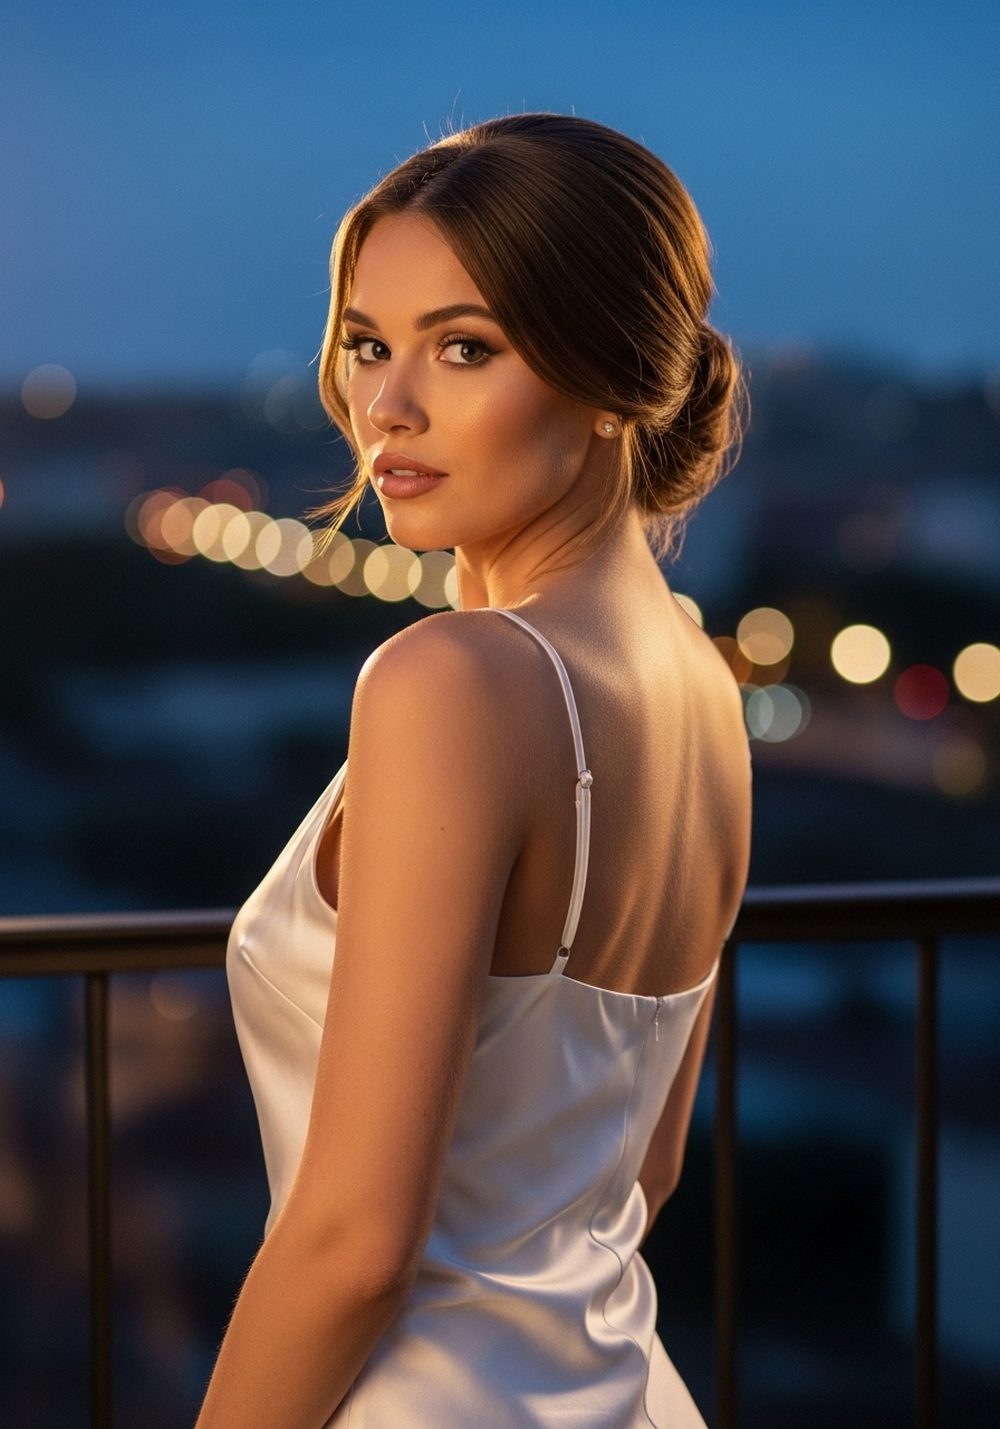
5. Clean Middle-Part Low Chignon
Think of this as the softer cousin of the glass bun: still sleek and low, but with a slightly fuller, chignon-like shape. The clean middle part keeps it modern, while a looser wrap of hair at the nape gives a touch of softness. It’s perfect for office days that roll into dinners or drinks, and it looks beautiful with simple earrings.
Pro tip: Backcomb the ponytail lightly before wrapping to give the chignon a subtle, pillowy shape.
How To Style
- Part hair cleanly down the center.
- Gather into a low pony, keeping the sides smooth.
- Tease the ponytail lightly in the middle.
- Fold the pony under and pin into a rounded chignon.
- Smooth the outer layer with your palms and a small amount of serum.
Best For
Oval, long, and heart faces; straight or fine-to-medium wavy hair.
Tools & Products
- Tail comb
- Small teasing brush
- Hair elastics
- Bobby pins
- Lightweight serum or cream
6. Slicked-Back Low Bun With No Part

If you like a strong, fashion-forward look, the no-part slicked-back bun is your style. Hair is brushed straight back from the forehead into a low bun, giving instant lift to the face and a very clean finish. It works especially well with sharp collars, blazers, and minimalist outfits. It’s also a reliable go-to on hair-wash day three or four.
Pro tip: Work your product from the hairline back in small sections to avoid clumps and keep everything evenly sleek.
How To Style
- Brush all hair straight back away from your face.
- Apply gel or cream from roots to mid-lengths.
- Comb hair down into a low ponytail and secure.
- Twist the ponytail into a bun and pin.
- Press any flyaways down with a bit more product.
Best For
Square, round, and oval faces; straight, wavy, or relaxed textured hair.
Tools & Products
- Paddle or detangling brush
- Strong-hold gel
- Hair elastics
- Bobby pins
- Edge brush or small toothbrush
7. Rope-Twist Low Bun

The rope-twist low bun looks intricate but is actually very quick. Instead of a braid, you split the ponytail in two, twist each section, then twist them together before forming the bun. The result is a sleek front with a subtle, expensive-looking texture at the back. This is ideal for medium to long hair and works well for work, interviews, or daytime events.
Pro tip: Twist both sections in the same direction, then twist them together in the opposite direction so the rope holds firmly.
How To Style
- Smooth hair into a low ponytail and secure.
- Divide the ponytail into two equal sections.
- Twist each section, then wrap them around each other.
- Coil the rope twist around the base to form a bun.
- Pin securely and smooth the crown.
Best For
Oval and heart faces; straight, wavy, or slightly coarse hair.
Tools & Products
- Brush
- Light styling cream
- Hair elastics
- Bobby pins
- Finishing spray
8. Low Bubble Bun With Sleek Top
For a playful twist that still feels polished, try a low bubble bun. The crown and sides stay sleek, while sections of the ponytail are banded into “bubbles” before being tucked into a bun. This is a fun option for dinners, parties, or when you want your hair to look like you tried without taking much extra time.
Pro tip: Gently pull each bubble outward to make them even and rounded before you wrap them into the bun.
How To Style
- Create a sleek low ponytail at the nape.
- Add elastics down the length every few centimeters.
- Gently tug between elastics to form bubbles.
- Fold and pin the bubbled pony into a bun shape.
- Smooth the top and sides with gel or cream.
Best For
Round, oval, and heart faces; straight or wavy medium-to-long hair.
Tools & Products
- Fine-tooth comb
- Multiple small elastics
- Smoothing gel or cream
- Bobby pins
- Light mist hairspray
9. Curly Sleek Low Bun With Defined Edges
This version keeps natural curls or coils in the bun while the front and sides are slicked for that “clean and expensive” contrast. The hairline is smoothed, and edges can be softly shaped for extra detail. The bun itself can stay a bit textured, which looks beautiful and full. This is ideal for curly and coily hair on days when you want control without hiding your texture.
Pro tip: Use a curl cream or foam on the bun section so your curls stay defined even when pinned.
How To Style
- Apply gel along the front and sides; brush hair into a low pony.
- Secure the ponytail, leaving curls free at the ends.
- Shape the curls into a bun and pin loosely.
- Use an edge brush and a small amount of gel to define edges.
- Set with a light spray.
Best For
Oval, heart, and round faces; curly and coily hair.
Tools & Products
- Soft brush
- Strong-hold gel
- Curl cream or foam
- Edge brush
- Hair elastics and pins
10. Low Bun With Hair Wrap “Ribbon”
This bun looks like you tied a chic ribbon around it, but the “ribbon” is actually your own hair. You create a sleek low bun, then wrap a longer, smooth section around both the base and slightly above it for a layered effect. It looks refined and works beautifully with simple outfits and small jewelry. It’s perfect for dinners, gallery nights, or any time you want a subtle detail that feels luxe.
Pro tip: Flat-iron the wrap section first for an extra smooth, ribbon-like finish.
How To Style
- Pull hair into a low ponytail and secure.
- Leave a long side section out before tying the pony.
- Twist or tuck the ponytail into a neat bun and pin.
- Smooth the loose section and wrap it around the bun and slightly above.
- Pin the end underneath and finish with shine spray.
Best For
Oval and long faces; straight or straightened hair.
Tools & Products
- Flat iron (optional)
- Smoothing serum
- Hair elastics
- Bobby pins
- Shine or glossing spray
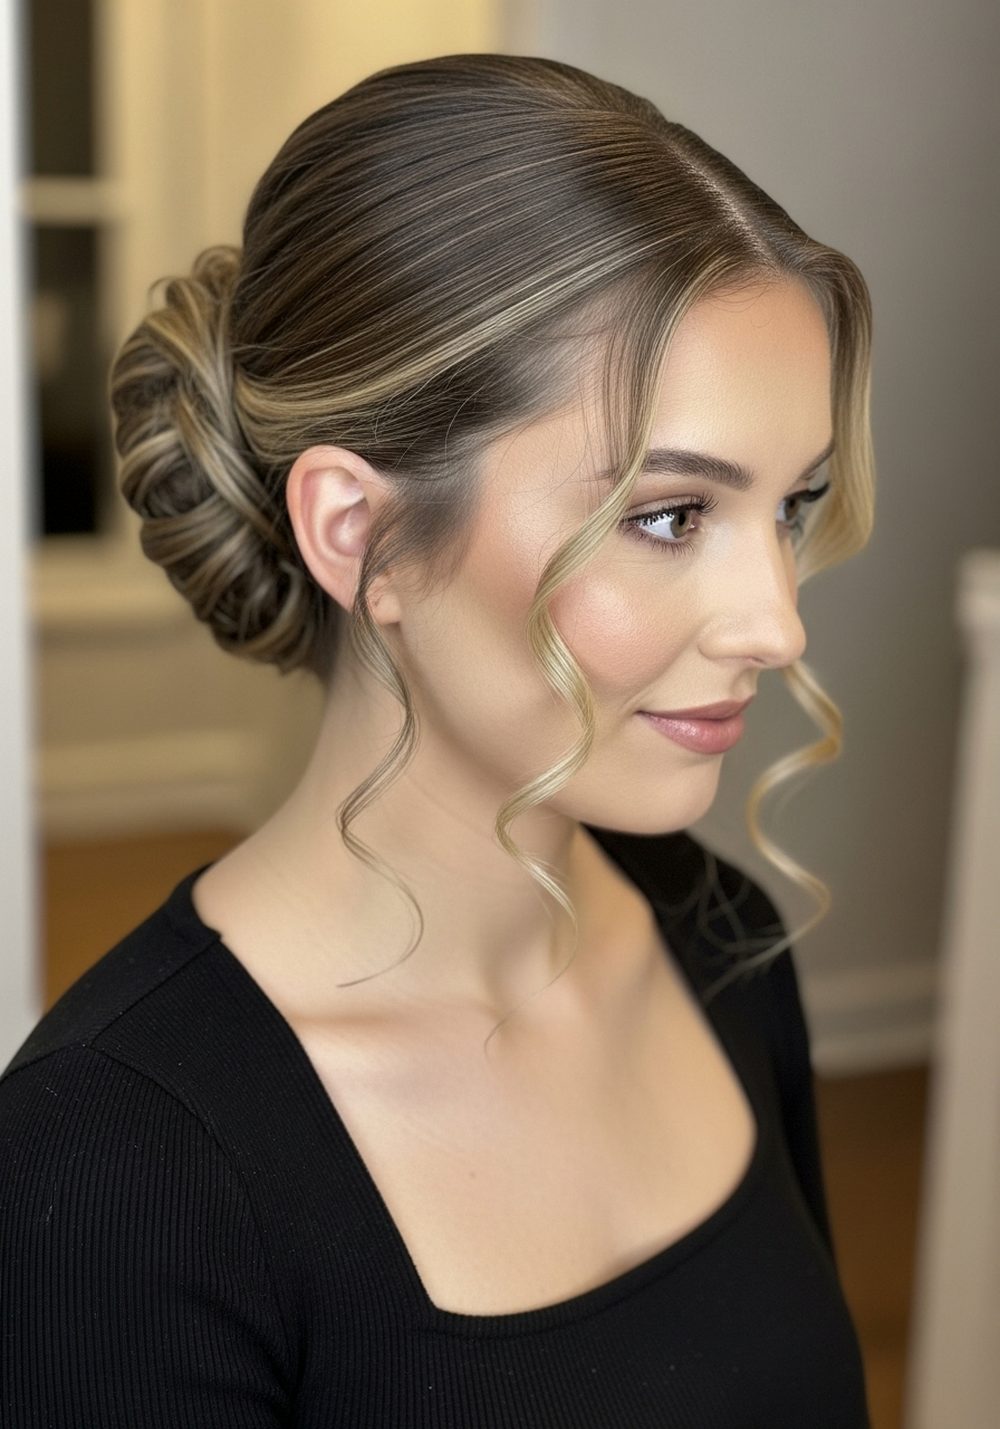
11. Sleek Low Bun With Soft Face-Framing Pieces
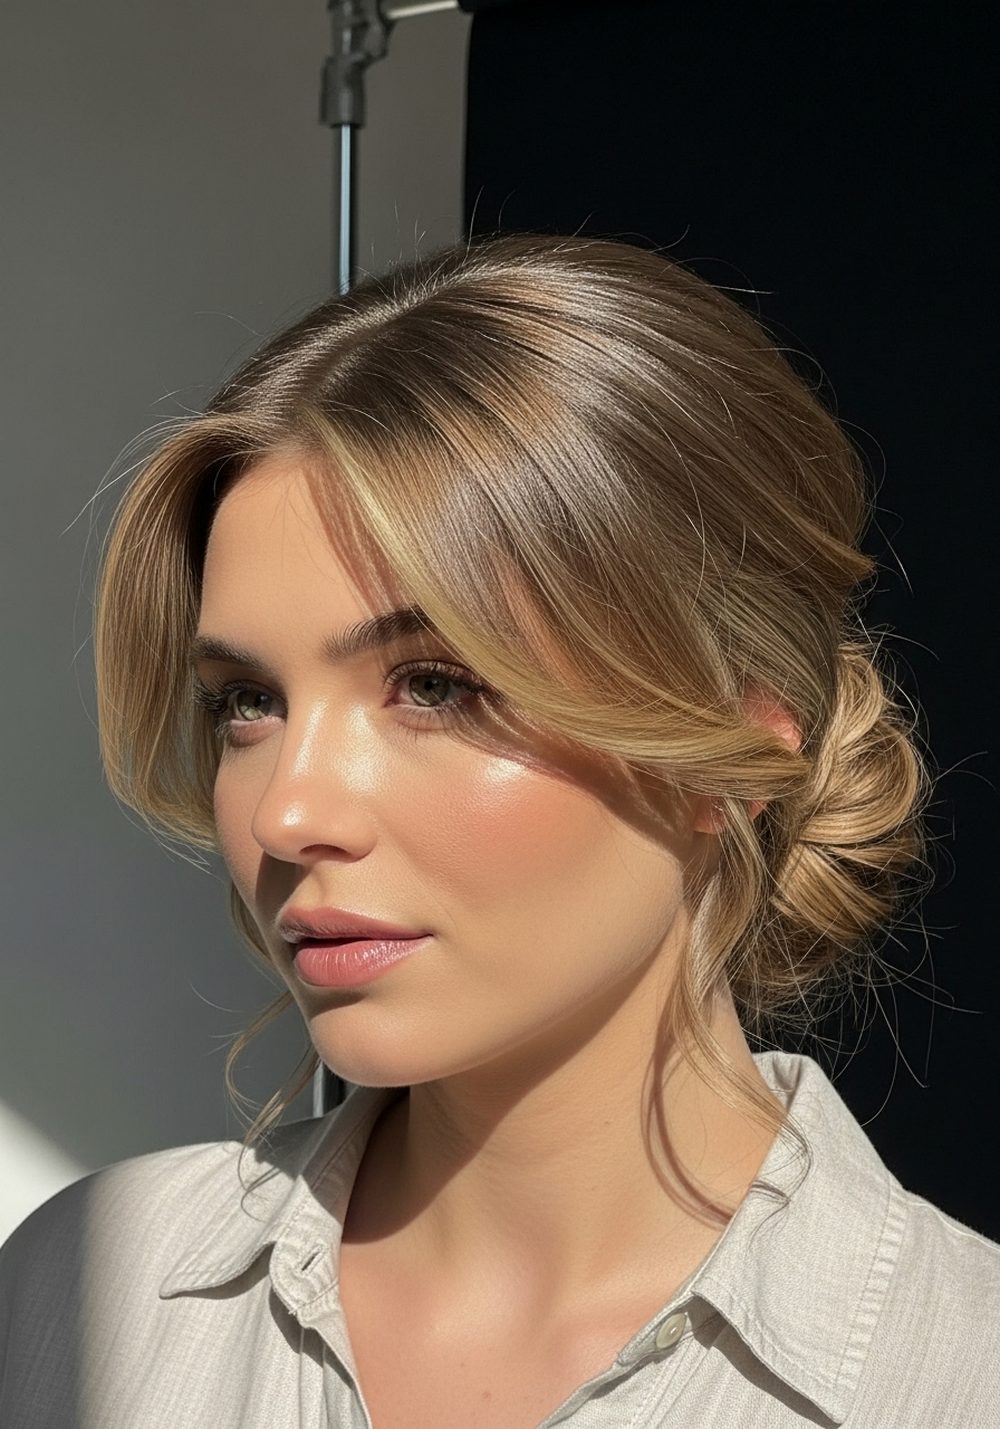
If you like the idea of a sleek bun but find it too severe, this version keeps the bun neat while letting a few fine pieces fall around the face. The soft strands add movement and can slim or soften strong jawlines. It works nicely for dates, brunches, and semi-formal events where you want to look elegant but still relaxed.
Pro tip: Curl the face-framing pieces very lightly so they bend softly instead of forming tight curls.
How To Style
- Part your hair in the center or slightly off-center.
- Leave out two narrow sections around the face.
- Smooth the rest into a low ponytail and secure.
- Twist the pony into a bun and pin.
- Lightly bend the front pieces with a curler and smooth with a tiny bit of serum.
Best For
Round, heart, and oval faces; straight, wavy, or softly curled hair.
Tools & Products
- Tail comb
- Curling iron or wand (optional)
- Light smoothing cream
- Hair elastics and pins
- Finishing spray
12. Polished Low Bun With Subtle Volume at Crown
This sleek low bun has a slight lift at the crown, which keeps it from looking flat and can visually lengthen a shorter or rounder face. The sides stay smooth and clean, while the crown is gently raised and then connected into the low bun. It’s a great choice for formal events, office presentations, or any time you want a little extra polish.
Pro tip: Use a light teasing at the crown and lock it in with a small spritz of spray before smoothing the top layer over it.
How To Style
- Section off the crown area and lightly tease underneath.
- Smooth the top layer over the teased section.
- Gather all hair into a low ponytail and secure.
- Twist the ponytail into a bun and pin.
- Press sides and top gently with your hands and a touch of product.
Best For
Round, oval, and heart faces; straight or wavy hair.
Tools & Products
- Teasing comb or brush
- Light-hold hairspray
- Smoothing cream or gel
- Hair elastics
- Bobby pins
Conclusion
A sleek low bun is one of the easiest ways to look polished, calm, and expensive without spending a lot of time or money. Once you’ve tried a few of these versions, you’ll figure out which parting, bun shape, and finish feel most “you.” Start with one or two styles for everyday wear, then keep the more detailed versions for events. A small kit of elastics, pins, and smoothing products is all you really need.
Call to Action
Pick one of these low buns to be your “signature clean look” for the week, practice it twice, and then save your favorite version in your camera roll so you can recreate it fast anytime you need to look pulled together.
FAQs
1. How do I make my sleek low bun last all day?
Work in thin layers of product rather than one heavy coat, and focus on smoothing the roots and hairline first. Secure your bun with both an elastic and pins, then finish with a light mist of hairspray to lock everything in.
2. Can I do a sleek low bun on dirty hair?
Yes, slightly dirty hair often holds sleek styles better than freshly washed hair. If your roots are oily, use a bit of dry shampoo at the crown, then smooth everything back with gel or cream.
3. What if I have very thick or heavy hair?
Use a strong elastic and divide your bun into sections, pinning each piece separately so the weight is supported. You can also try a braided or rope-twist bun, which keeps thick hair compact and easier to secure.
4. Will a sleek low bun damage my hairline?
Wearing any tight style every single day can cause stress on your edges over time. Give your hairline breaks by loosening the tension, switching up your part, and using soft brushes instead of harsh pulling.
5. How do I stop my bun from looking messy with flyaways?
Smooth a small amount of gel or cream onto your fingertips and gently press down any flyaways, then comb them into place. Keeping a tiny travel-sized product and a small brush in your bag makes touch-ups quick and easy.